Follow Me On Social Media!

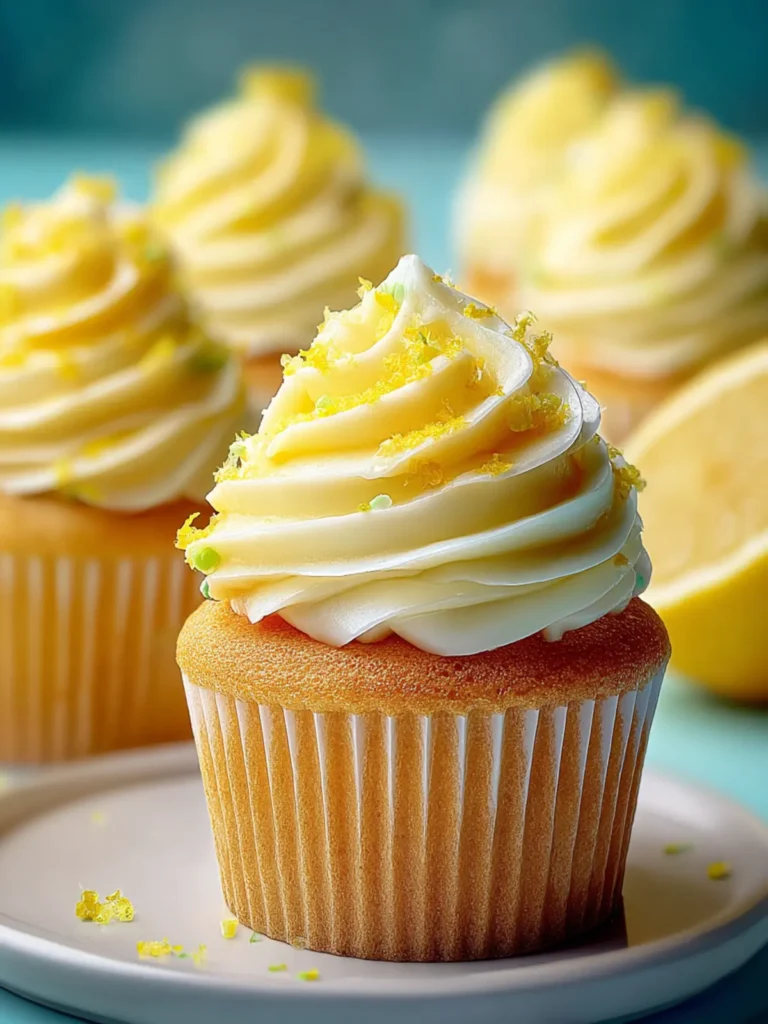
Vintage Ermine Frosting: The Best Creamy Dream for Cakes
Introduction to Vintage Ermine Frosting
Imagine stepping into a charming, sunlit kitchen filled with the warm aroma of cake baking in the oven, as you prepare to create something delightful: vintage ermine frosting. This nostalgic frosting recipe hails from the early 20th century and brings a touch of old-world charm to your dessert table. With its creamy texture and subtle sweetness, it serves as the perfect topping for a wide variety of cakes, from simple vanilla to rich chocolate varieties.
What makes this frosting particularly unique is its base: a cooked flour and milk mixture that transitions into a light, fluffy frosting once mixed with butter and sugar. The result is a velvety texture that is both rich and airy, offering a distinctive mouthfeel that pinches the imagination and delights the palate. While many modern frosting recipes rely on powdered sugar and heavy cream, vintage ermine frosting pays homage to a time when the simplest ingredients, paired with a little bit of technique, could create something truly memorable.
What makes Vintage Ermine Frosting special?
There’s something undeniably appealing about vintage ermine frosting. It strikes a balance between being indulgent and light, making it a favorite among cake enthusiasts who appreciate a well-crafted dessert. The use of a flour roux lends the frosting a creaminess that you won’t find in traditional buttercream, making it an excellent choice for those who are looking to elevate their cake game.
- Nostalgic Appeal: Reminiscent of a bygone era, this frosting evokes memories of family gatherings and cherished recipes passed down through generations.
- Versatility: Works wonderfully on various cakes, cupcakes, and even cookies. Whether you’re frosting a classic vanilla cake for a birthday party or a decadent chocolate cake for a special occasion, vintage ermine frosting adapts beautifully.
- Unique Flavor: The subtle sweetness of the frosting allows the flavor of the cake to shine, rather than overpower it. Its creamy texture makes each bite an experience to savor.
Now that we’ve covered what makes this frosting so special, let’s dive into the ingredients that will help you craft this treasured treat!
Key Ingredients for Vintage Ermine Frosting
Creating vintage ermine frosting is truly a charming culinary experience that evokes nostalgia with every smooth, creamy bite. This frosting, also known as boiled milk frosting, has a delightful texture that transforms any cake or cupcake into a retro masterpiece.
-
Flour: The backbone of this frosting, all-purpose flour helps create the unique, smooth texture. Cooking it with milk helps to eliminate any raw flour taste and thickens the mixture beautifully.
-
Milk: Whole milk is my go-to for this frosting. It adds richness and creaminess that enhances the overall flavor. If you need a substitute, a non-dairy milk can also work, but the taste may vary.
-
Butter: Unsalted butter is essential for that rich, creamy finish. It folds into the fluffy mixture, adding depth to the frosting’s overall flavor profile.
-
Sugar: Granulated sugar sweetens it up perfectly, creating a delightful balance with the buttery flavor.
-
Vanilla Extract: A splash of vanilla is vital for enhancing the flavor of the frosting. It adds an aromatic touch that complements the other ingredients beautifully.
By using these key ingredients, you’ll create a vintage ermine frosting that not only looks beautiful but tastes incredible too!
Why You’ll Love This Recipe
Vintage ermine frosting is more than just a sweet topping; it’s a delightful return to the sweeter moments of the past. Imagine slicing into a homemade cake and uncovering a silky, fluffy layer of this decadent frosting that melts in your mouth. Unlike traditional buttercream, ermine frosting offers a unique texture that piques your curiosity and tantalizes your taste buds.
Rich History and Nostalgic Flavors
Dating back to the early 20th century, vintage ermine frosting has graced countless family gatherings. Its rich history evokes a sense of nostalgia that connects you to generations of bakers. With every whisk and swirl, you’ll find yourself part of a culinary tradition that’s both comforting and timeless.
Perfect for Any Occasion
Whether it’s a birthday, wedding, or holiday gathering, ermine frosting elevates any dessert into something truly special. Its versatile flavor pairs beautifully with various cakes and pastries, making it an ideal choice for all your baking needs.
Simple Ingredients, Remarkable Results
What makes this frosting even more appealing is its simplicity. With just a handful of ingredients—flour, milk, sugar, and butter—you’ll create an unforgettable treat that impresses your friends and family. Each bite brings a balance of sweetness and creaminess that’s hard to resist.
Prepare to fall in love with this charming frosting. It encapsulates not just flavor, but the joy of baking and sharing.
Variations of Vintage Ermine Frosting
When you think of vintage ermine frosting, it’s hard not to feel a sense of nostalgia—you can almost smell that delicate sweetness wafting from the kitchen. Whether you’re baking up a storm for a special occasion or just indulging your sweet tooth, this classic frosting can be modified to suit your taste.
Chocolate Variation
If you’re a chocolate lover, why not incorporate some cocoa powder? A couple of tablespoons of unsweetened cocoa can transform your vintage ermine frosting into a luxurious chocolatey delight. Just be sure to balance it with a pinch of extra sugar to maintain that perfect sweetness.
Nutty Infusion
You could also experiment with nuts! Adding finely chopped toasted nuts, like pistachios or almonds, can enhance the flavor and add a satisfying crunch. This nutty twist can elevate your frosting from classic to extraordinary.
Seasonal Flavors
Want to embrace the seasons? Try incorporating seasonal ingredients such as pumpkin purée for a fall-inspired frosting, or a splash of pure peppermint extract for a refreshing winter treat. These variations allow you to personalize your vintage ermine frosting based on what you’re craving or celebrating.
Fruit Influences
Consider a fruity variation, too. A few tablespoons of fruit puree—like raspberry or lemon—can introduce a zesty quality. This not only changes the flavor profile but also adds a beautiful hue to your frosting.
With these delightful variations, you’re not just using vintage ermine frosting; you’re revitalizing it! Try these tips to create a frosting that’s uniquely yours, while still honoring that beloved vintage charm.
Cooking Tips and Notes for Vintage Ermine Frosting
Crafting a perfect vintage ermine frosting takes a bit of patience, but the results are absolutely worth it! This classic frosting isn’t your ordinary buttercream; its silky, creamy texture and irresistible flavor have charmed home bakers for generations. Here are some tips to help you nail this nostalgic treat.
Use the Right Milk
For the best results, reach for whole milk. It’s rich enough to create that luscious texture that makes vintage ermine frosting stand out. If you’re feeling adventurous, try substituting with half-and-half for an extra creamy consistency!
Whip It Good
To achieve that signature velvety finish, make sure your butter is at room temperature before you begin. Creaming it properly with the sugar creates a fluffy base that will hold up well. Don’t forget to whip the frosting until it’s light and airy—this step is key for that heavenly mouthfeel.
Avoid Overheating
When cooking the flour mixture over medium heat, stir constantly to prevent lumps. If it starts to thicken too quickly or if it starts to get brown, take it off the heat immediately to maintain the delicate flavor and color crucial to vintage ermine frosting.
Storage Tips
Store any leftovers in an airtight container in the fridge. Before using it again, give it a good whip to restore that light, fluffy texture.
With these tips, you’ll be well on your way to mastering this timeless frosting that will have everyone asking for seconds!
Serving Suggestions for Vintage Ermine Frosting
There’s something uniquely nostalgic about vintage ermine frosting that brings charm to your cakes and desserts. This creamy frosting is perfect for a variety of sweet treats, making each bite feel like a warm hug from grandma’s kitchen.
Classic Cake Pairings
The versatility of vintage ermine frosting shines when paired with classic cakes. Here are some delightful combinations:
-
Chocolate Cake: The rich cocoa flavors create a delicious contrast with the light, fluffy texture of ermine frosting. Imagine a fluffy chocolate cake topped with this velvety frosting—pure bliss!
-
Carrot Cake: The subtle spice of carrot cake pairs wonderfully with the sweetness of ermine frosting, enhancing the overall flavor profile and adding a creamy finish.
Cupcake Perfection
Want to elevate your cupcake game? A light swirl of vintage ermine frosting on vanilla or red velvet cupcakes adds an elegant touch. The frosting’s airy consistency ensures that each bite is not just sweet but also surprisingly creamy.
Layered Desserts
Consider using vintage ermine frosting in layered desserts such as trifles. Alternate layers of frosting with fruit, whipped cream, or sponge cake to create a striking dessert that looks as good as it tastes.
Fruit Pairings
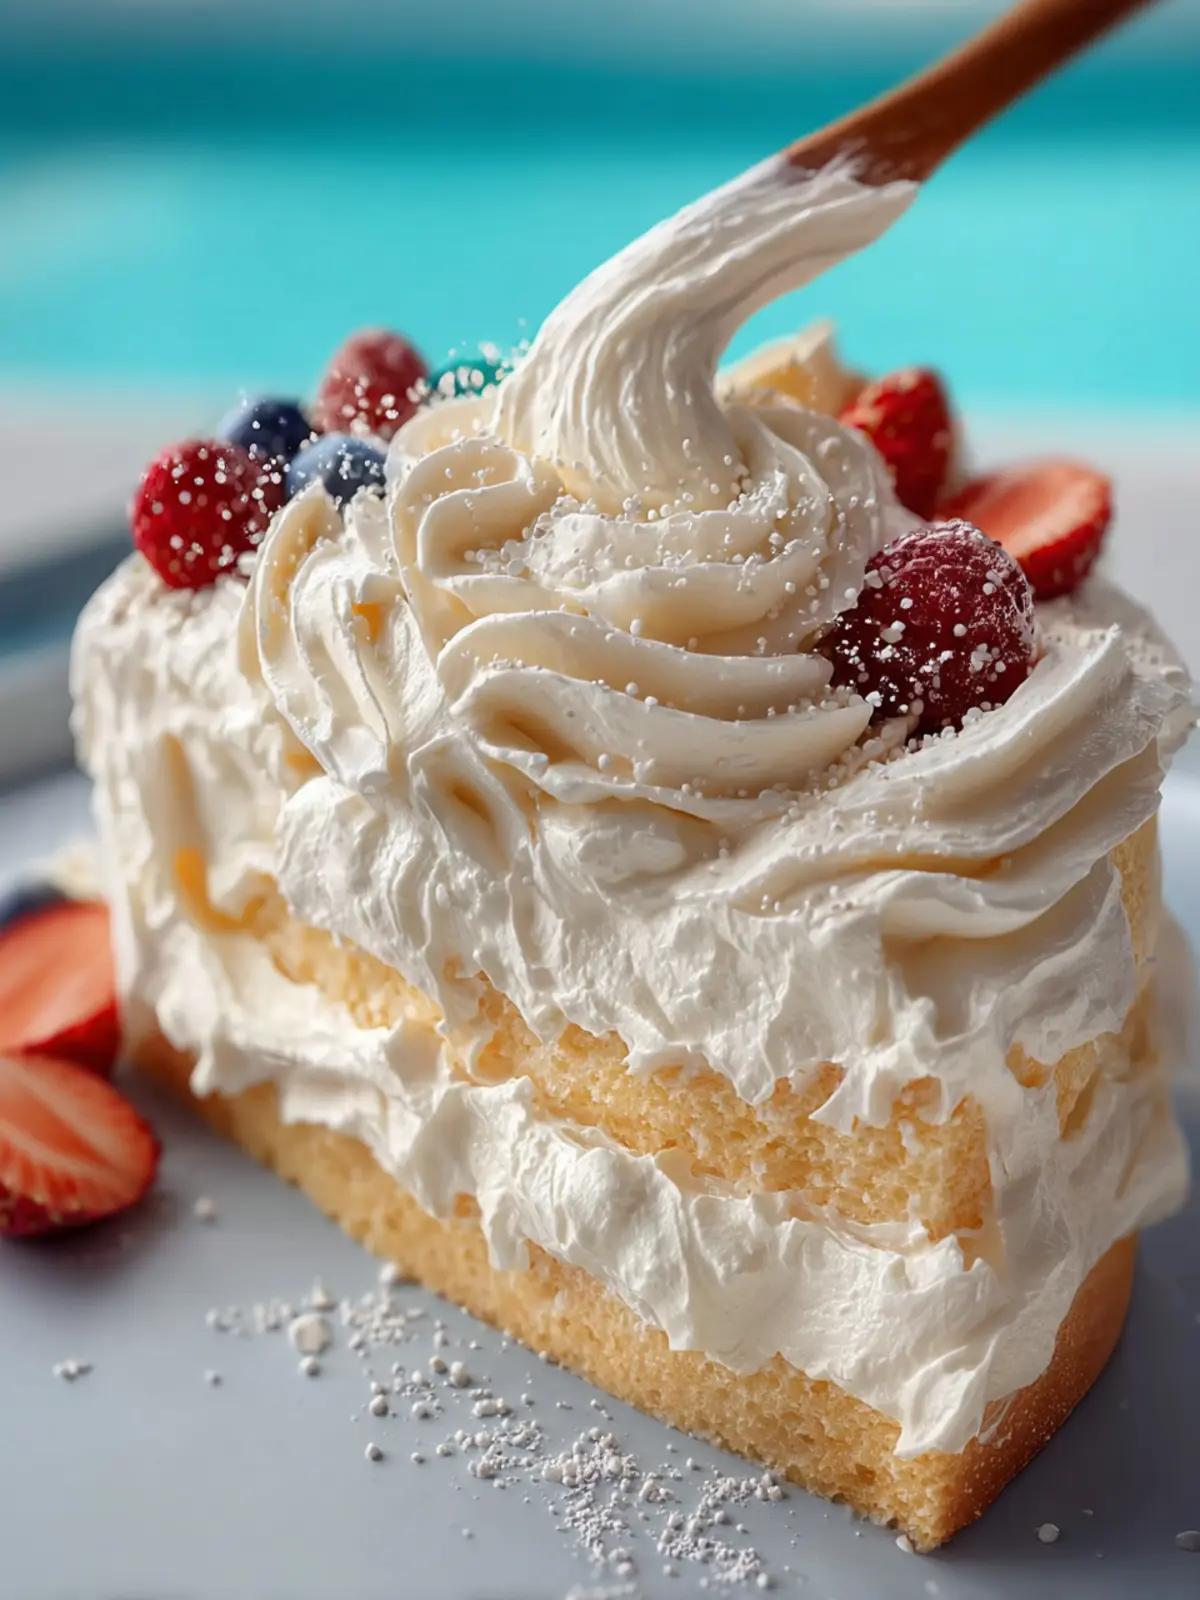
Fruits like fresh strawberries or raspberries can add a vibrant flavor contrast. Serve slices of cake topped with vintage ermine frosting and garnished with fresh fruit for a refreshing, picturesque dessert option.
Using vintage ermine frosting creatively can make your desserts the star of any gathering, infusing your culinary adventures with a touch of nostalgia and charm.
Time Breakdown for Vintage Ermine Frosting
Creating vintage ermine frosting is a beautiful labor of love that requires just the right timing to achieve that classic, melt-in-your-mouth texture.
Preparation time
Getting everything ready takes about 10 to 15 minutes. This includes gathering all your ingredients and equipment, such as a saucepan, whisk, and mixing bowl.
Cooking time
The cooking aspect is swift, clocking in at around 10 minutes. During this time, you’ll cook the flour and milk mixture to a perfect paste.
Total time
In total, you’re looking at approximately 20 to 25 minutes from start to finish. That gives you just enough time to enjoy a cup of coffee as you whip up this delightful frosting. So, grab your ingredients and let’s get started on this nostalgic treat!
Nutritional Facts for Vintage Ermine Frosting
When considering the vintage ermine frosting that brings a nostalgic sweetness to many desserts, it’s essential to be aware of its nutritional profile. This unique frosting is both rich and delightful, sure to elevate any cake or cupcake.
Calories
Just one serving of vintage ermine frosting typically contains around 100 calories. This means a little goes a long way in adding sweetness and creamy texture to your baked goods.
Sugar
In a single serving, expect about 15 grams of sugar. This sweetness is perfect for complementing the flavors in your favorite desserts, but it’s always wise to enjoy it in moderation.
Fat
A serving of this frosting includes approximately 4 grams of fat. While this adds to its luscious mouthfeel, it’s important to keep an eye on your overall fat intake when indulging in such rich treats.
Keeping these nutritional facts in mind will help you enjoy your vintage ermine frosting while making informed dietary choices.
FAQs about Vintage Ermine Frosting
Vintage Ermine Frosting is a nostalgic treat that brings back the magic of homemade desserts. It’s a delightfully creamy frosting that’s reminiscent of simpler times, and no cake is complete without a generous layer. Below, you’ll find answers to some common questions about this enchanting frosting.
How do I use Vintage Ermine Frosting on cakes?
Using Vintage Ermine Frosting on cakes is quite simple and rewarding. Begin by making sure your cake is completely cooled. This frosting spreads beautifully, so you can apply it with an offset spatula or a butter knife. For a classic look, start by spreading a thin layer of frosting on the top and sides to create a “crumb coat.” This helps to seal in any crumbs and provides a smooth surface for the final layer. After chilling for about 30 minutes, apply a thicker layer of frosting over the crumb coat. Feel free to go wild with decorating—add sprinkles, fresh fruit, or even edible flowers to enhance that vintage aesthetic!
Can I make Vintage Ermine Frosting in advance?
Definitely! One of the great things about Vintage Ermine Frosting is that you can prepare it ahead of time. Simply make the frosting, store it in an airtight container in the refrigerator, and it can stay fresh for up to a week. When you’re ready to use it, just take it out and let it sit at room temperature for about 30 minutes to soften. You might need to give it a quick whip to restore its creamy texture before spreading it on your cakes.
Is Vintage Ermine Frosting suitable for cupcakes?
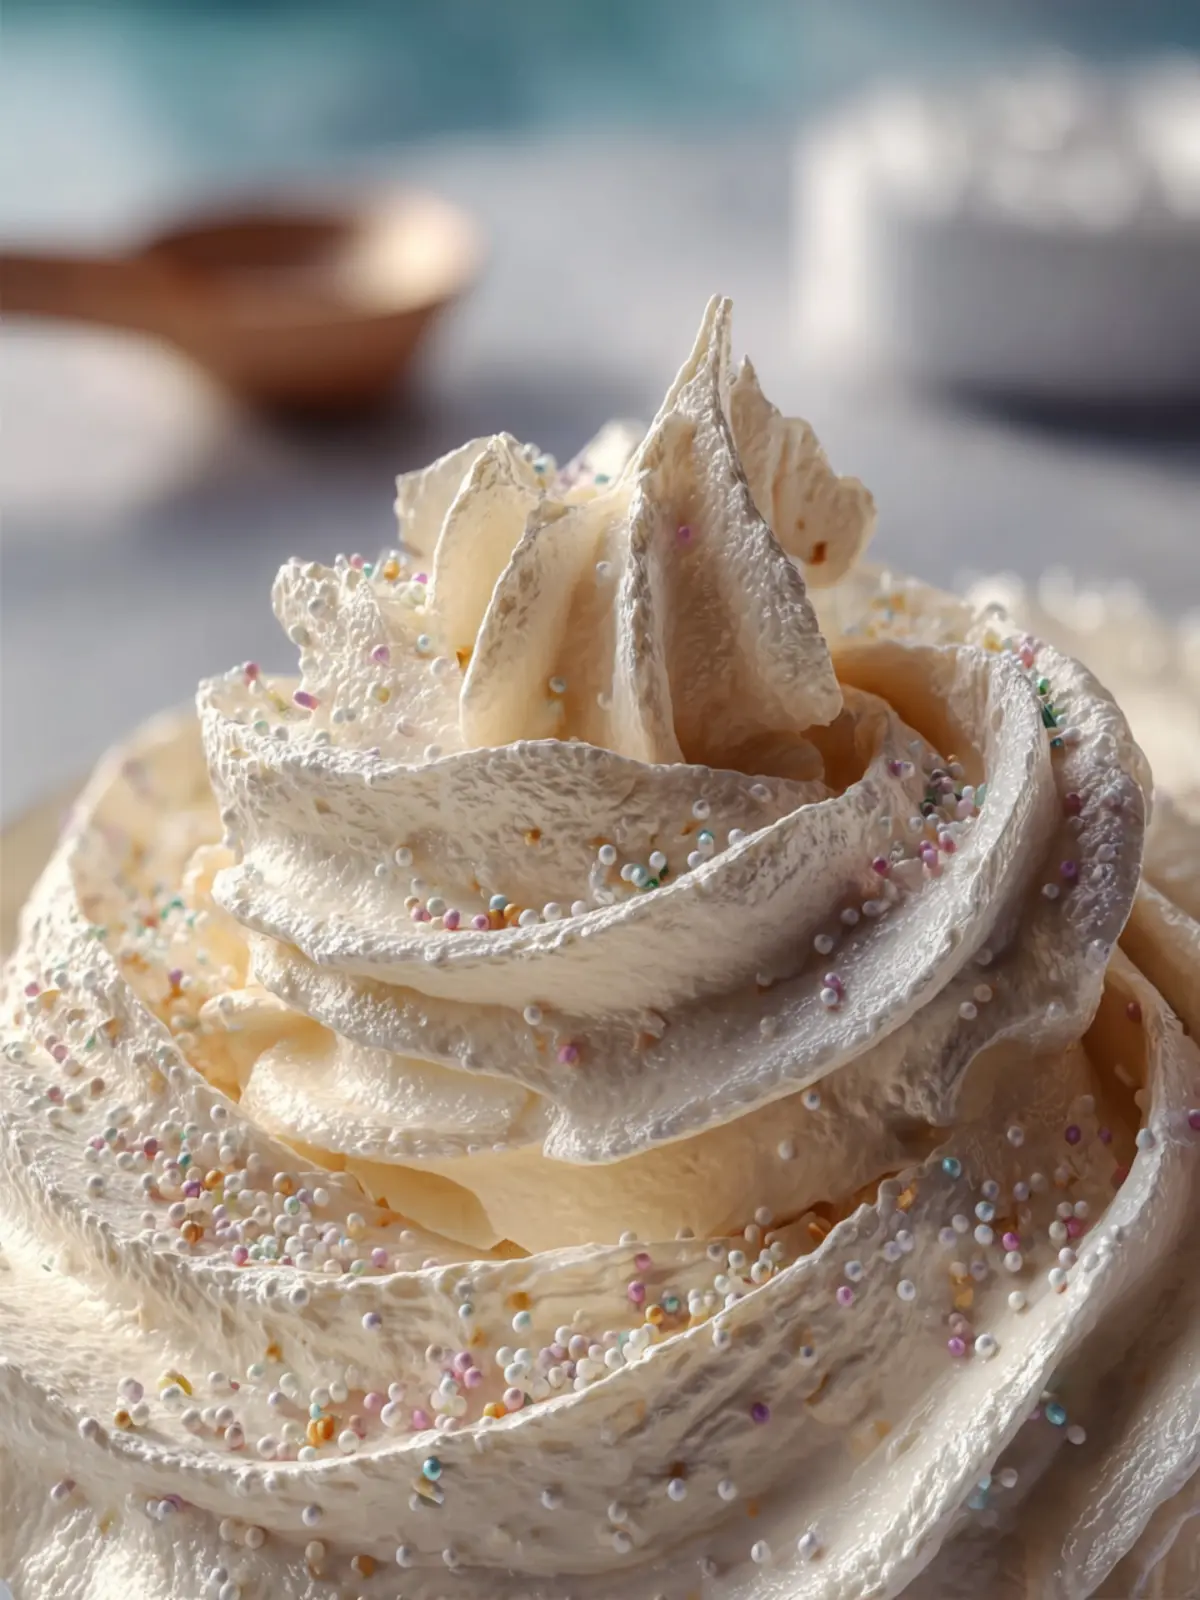
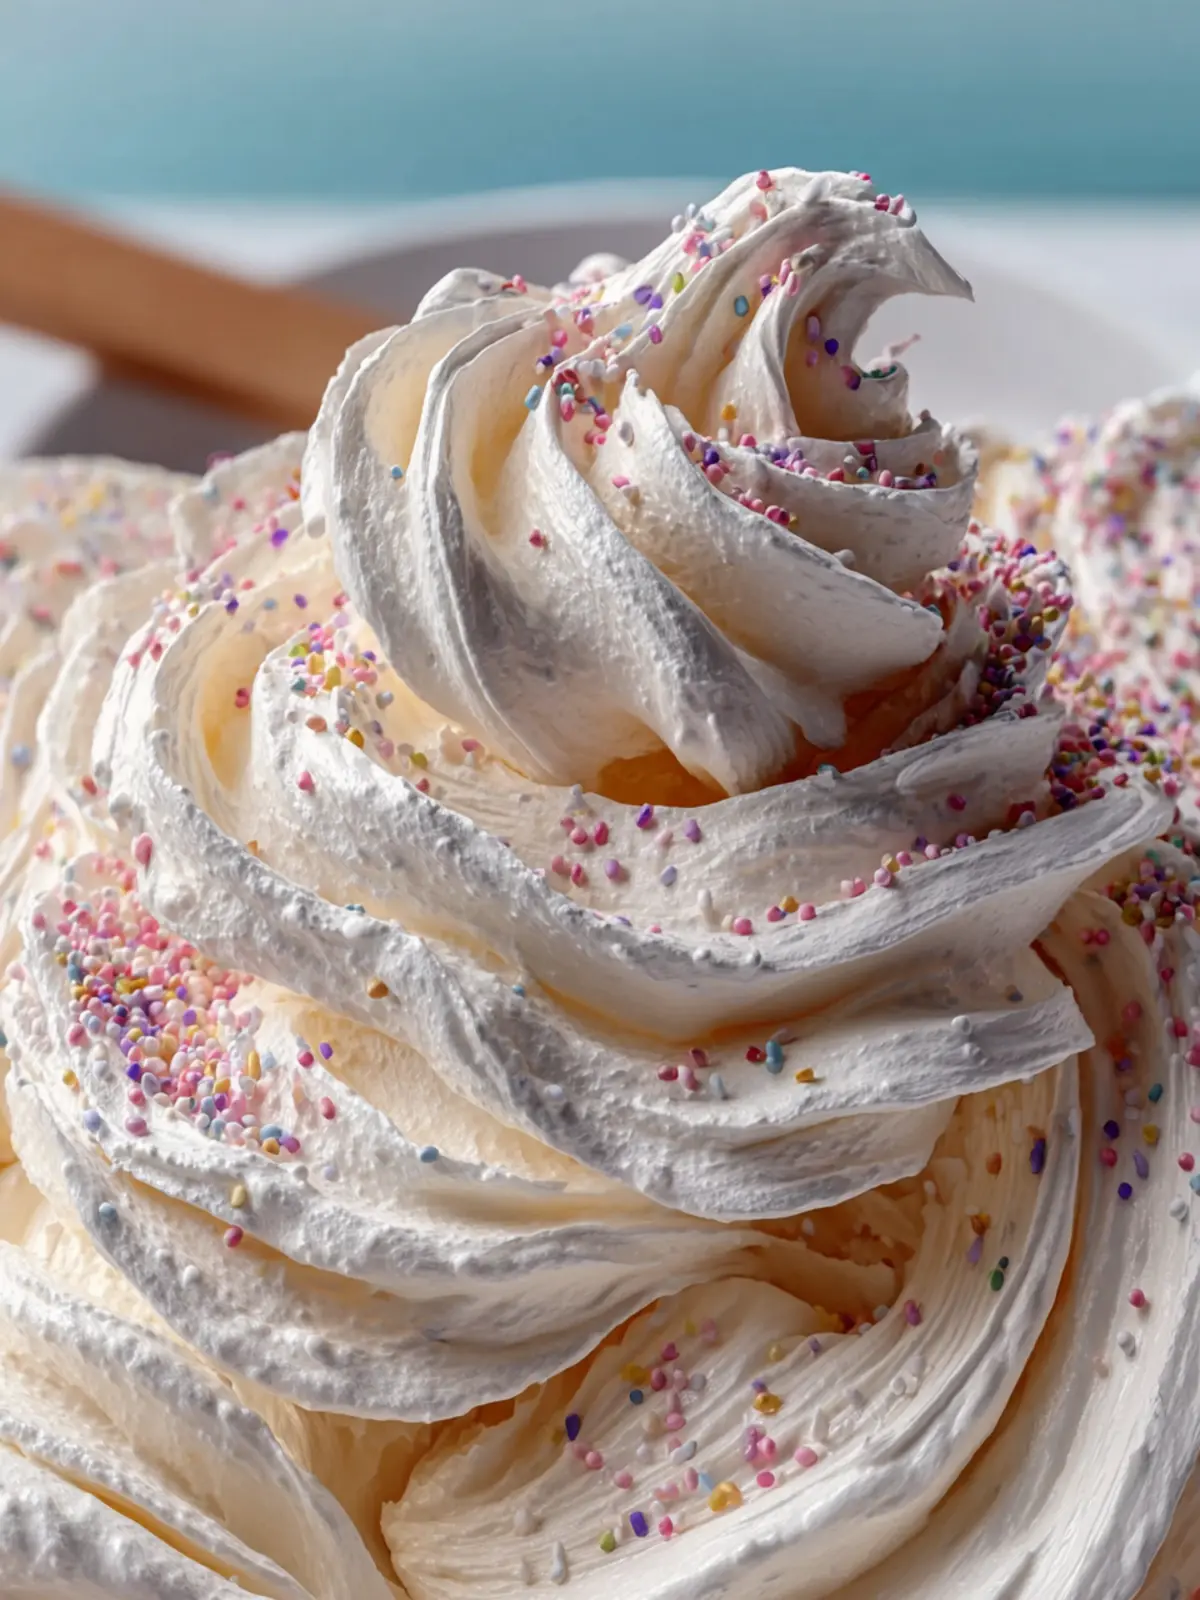
Absolutely! Vintage Ermine Frosting is perfect for cupcakes. Its light and fluffy texture make it an excellent choice for topping off your favorite cupcake flavors. Whether you’re baking classic vanilla cupcakes or something more adventurous like lemon or chocolate, this frosting will add a delightful finish. Consider using a piping bag with your favorite tip to create beautiful swirls on top. Your friends and family won’t be able to resist these charming little treats!
Conclusion on Vintage Ermine Frosting
In the world of baking, vintage ermine frosting stands out as a true classic, cherished for its creamy texture and delectable flavor. This frosting takes a bit of care and patience, but the results will undoubtedly impress your family and friends. The history behind this recipe adds an element of nostalgia, as it has graced the tables of celebrations for generations.
As you experiment with vintage ermine frosting, don’t hesitate to personalize it with flavors or colors that resonate with you. Remember, the journey of creating this delightful frosting is as rewarding as the delicious end product. So go ahead, whip up a batch, and let your baking tell a story of tradition and love.
Print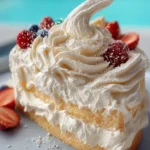
Buttercream Frosting
- Total Time: 20 minutes
- Yield: 2 cups 1x
- Diet: vegetarian
Description
A rich and creamy buttercream frosting perfect for cakes and cupcakes.
Ingredients
Scale
- 5 tablespoons all-purpose flour
- 1 cup whole milk
- 1 cup granulated sugar
- 1 cup unsalted butter (room temperature)
- 1 teaspoon vanilla extract
- 1 pinch salt
Instructions
- In a saucepan over medium heat, whisk together flour and milk until smooth and lump-free.
- Continue cooking, stirring constantly, until the mixture thickens into a pudding-like consistency (about 5–7 minutes). Remove from heat and cool completely.
- In a stand mixer, beat butter and sugar together for 5 minutes until light and fluffy.
- Add the cooled flour-milk mixture one spoonful at a time, beating well after each addition.
- Add vanilla extract and a pinch of salt, then beat the mixture for another 5–7 minutes until very light and whipped.
- Use immediately or refrigerate in an airtight container. Bring to room temperature and rewhip before using again.
Notes
- This frosting can be stored in the refrigerator for up to 1 week.
- Make sure to rewhip the frosting before using after refrigeration.
- Prep Time: 10 minutes
- Cook Time: 10 minutes
- Category: Desserts
- Method: mixing
- Cuisine: American
Nutrition
- Serving Size: 2 tablespoons
- Calories: 100
- Sugar: 15g
- Sodium: 5mg
- Fat: 5g
- Saturated Fat: 3g
- Unsaturated Fat: 2g
- Trans Fat: 0g
- Carbohydrates: 12g
- Fiber: 0g
- Protein: 1g
- Cholesterol: 15mg