Follow Me On Social Media!


How to Make Marshmallow Pops: The Best Gooey Treats at Home
Introduction to How to Make Marshmallow Pops
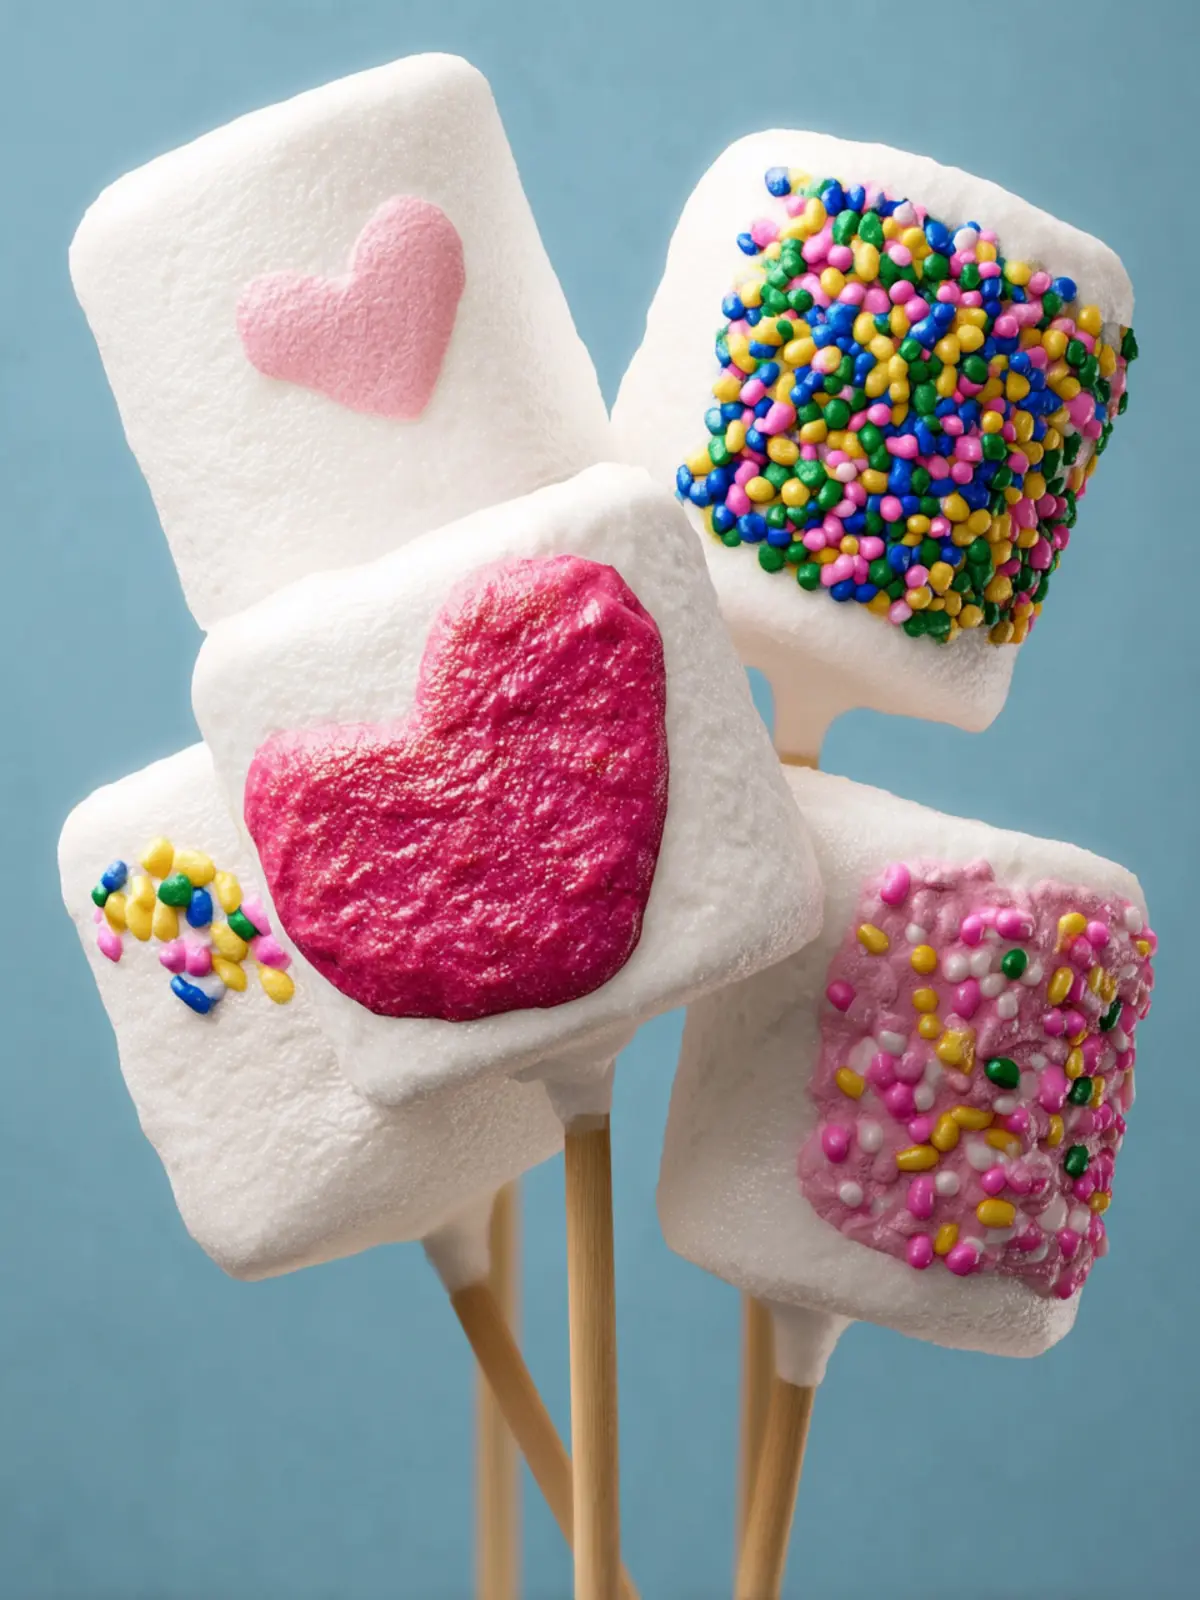
Imagine a dessert that brings out the child in you, where the simple joy of marshmallows transforms into a delightful, colorful treat. How to make marshmallow pops turns this whimsy into a fun and easy activity that anyone can enjoy, whether you’re preparing for a special occasion, hosting a gathering, or simply indulging your sweet tooth. Picture standing in your kitchen, surrounded by vibrant coatings and sprinkles, while classic marshmallows await their tasty transformation. It’s not just about the sweet flavors; it’s about the creative process that makes each bite feel special.
What makes marshmallow pops so delightful?
Marshmallow pops are an absolute treat for several reasons:
-
Versatility: These pops can be customized to fit any occasion. You can use chocolate, white chocolate, or even candy melts for coating, and the topping options are virtually endless—think sprinkles, crushed nuts, or candy pieces. The creative possibilities are limited only by your imagination.
-
Simplicity: The process of making marshmallow pops is straightforward and requires minimal ingredients. This makes them perfect for both seasoned bakers and those just starting their culinary journey.
-
Interactive Fun: Making marshmallow pops is not only a delightful cooking project but also a chance to bond with friends or family. You can set up a decorating station and let everyone express their creativity, turning the kitchen into a mini art studio.
-
Nostalgic Appeal: Marshmallows have a way of invoking memories of childhood. Whether it’s camping trips roasting marshmallows over a fire or summer barbecues, these pops are a sweet reminder of simpler times.
By combining these aspects, marshmallow pops stand out as not just a dessert, but an experience. As you gather your ingredients and start crafting this delightful treat, you might find that the joy in making them is just as rewarding as enjoying them. Let’s explore how to make marshmallow pops and dive into the delicious details!
Key Ingredients for How to Make Marshmallow Pops
Creating mouthwatering marshmallow pops is an exciting endeavor that requires just a few key ingredients to get you started!
-
Marshmallows: The star of the show! Choose large, fluffy marshmallows to make handling them easier, and they offer a delightful chewiness in every bite.
-
Candy Melts: These are essential for coating your marshmallows. I prefer using colored candy melts to give each pop a vibrant and festive look. Feel free to mix and match colors for a fun effect!
-
Lollipop Sticks: These not only make your marshmallow pops easy to hold but also add that classic pop feel. Wooden or paper sticks are both great options, so go with what you have on hand.
-
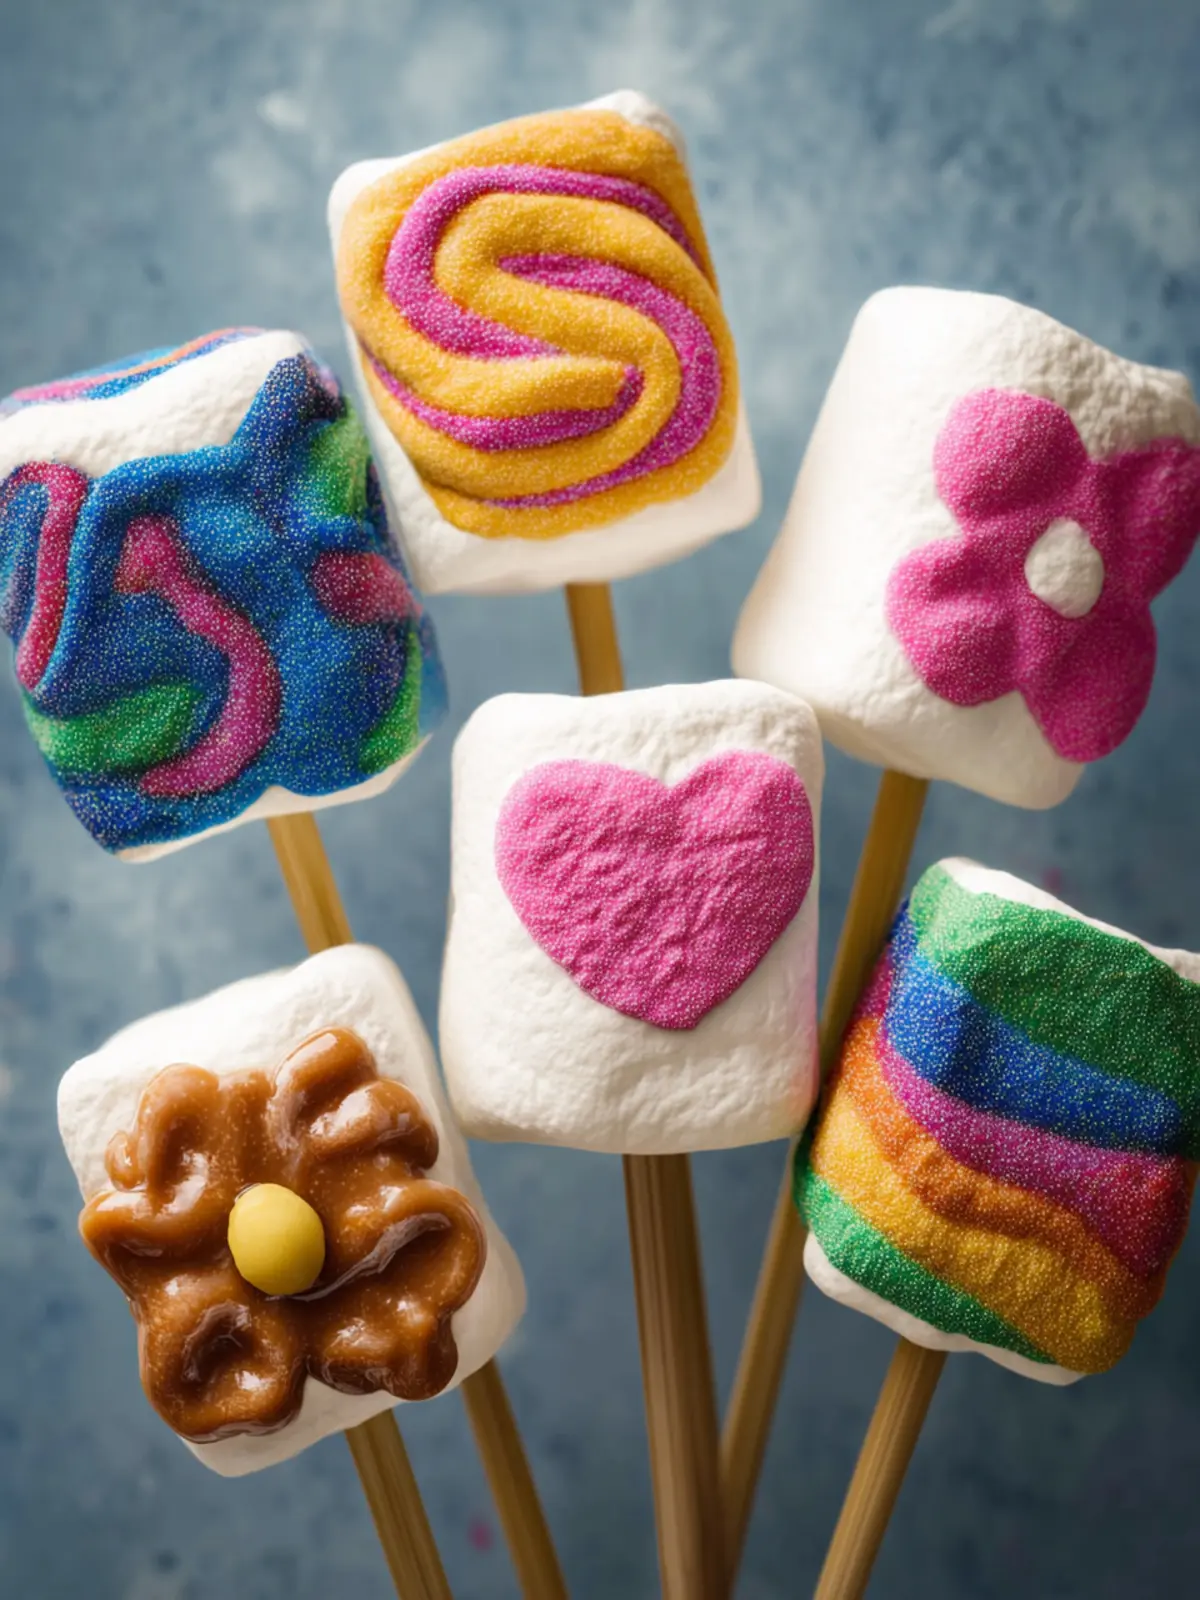
Decorative Toppings: Get creative here! You can use sprinkles, crushed nuts, or even edible glitter to add texture and appeal. It’s where your personal touch shines, so let your imagination run wild!
-
Chocolate Drizzle: A drizzle of melted chocolate over the candy coating takes your pops to the next level. It adds flavor and a touch of elegance, making them perfect for any occasion.
Why You’ll Love These Marshmallow Pops
Indulging in marshmallow pops brings back those carefree childhood memories of county fairs and backyard barbecues—where sweetness reigns supreme! The beauty of these delightful treats lies not only in their vibrant appearance but also in their incredible versatility.
-
Fun to Create: Crafting marshmallow pops is a joyous activity. Whether you’re making them solo or with friends, it transforms the kitchen into a canvas for creativity. Roll them in colorful sprinkles or drizzle with chocolate—your imagination is the limit!
-
Perfect for Any Occasion: Are you organizing a birthday party, a casual gathering, or a family movie night? These pops are the ultimate crowd-pleasers. With a quick tutorial on how to make marshmallow pops, you can whip up a batch in no time, ensuring everyone’s sweet cravings are satisfied.
-
Customizable Flavors: The best part? You can customize your pops to fit your taste. Want a hint of vanilla? Go ahead! Prefer a pop of raspberry? You got it! This flexibility makes marshmallow pops a favorite for both kids and adults alike.
At the end of the day, these treats tickle the taste buds and ignite nostalgia, making them a delightful addition to any dessert table. So grab your ingredients, and let’s dive into the world of marshmallow pops!
Tips for Making Perfect Marshmallow Pops
Creating marshmallow pops is an enjoyable activity that conjures memories of fairs and festive gatherings. To make sure your pops are the talk of the party, consider the following tips:
Choose the Right Marshmallows
Opt for large marshmallows for a robust pop that stands out. Regular-sized marshmallows can also work, but larger ones provide a better canvas for decorating.
Melt Your Chocolate Wisely
For dipping, use high-quality chocolate chips for the best flavor and consistency. Temper your chocolate carefully—microwaving in short bursts and stirring in between to avoid burning. This keeps it smooth and ready for dipping.
Skewer Correctly
Use lollipop sticks or sturdy wooden skewers for easy handling. Poke them gently into the marshmallows until they’re secure but not piercing through the bottom. This helps ensure each pop is stable for decoration.
Customize Toppings
Get creative with toppings! Try crushed cookies, colorful sprinkles, or even chopped nuts. Just make sure to add them while the chocolate is still warm to ensure they stick.
Cool Properly
After decorating, let your marshmallow pops cool completely on parchment paper. This step is crucial for preventing any messy drips and achieving that beautiful finish.
With these tips, you’ll not only learn how to make marshmallow pops but elevate them to a delightful treat that everyone will adore!
Time Details for Marshmallow Pops
Making marshmallow pops can be a delightful way to spend an afternoon, especially when you know exactly how long each step takes. Below, I’ve broken down the time details to help you plan your production line of sweet treats.
Preparation Time
The preparation for these pops is quick and easy, taking only about 15 minutes. You’ll be mixing ingredients, melting chocolate, and setting up your workstation in no time.
Cooling Time
After dipping your marshmallows, let the pops cool completely for about 30 minutes. This allows the chocolate to harden and makes them easier to handle.
Total Time
In total, you can expect to spend around 45 minutes from start to finish. This includes prep and cooling times, so you won’t have to wait long to enjoy your delicious homemade marshmallow pops!

Nutritional Information for Marshmallow Pops
Making marshmallow pops is not just a fun activity, but it also involves understanding the nutritional aspects of this delightful treat. While indulging in these sweet snacks, it’s good to know what you’re putting into your body.
Calories
Each marshmallow pop typically contains around 100-150 calories, largely depending on the coating and decorations used. These calorie counts can add up quickly, especially if you’re enjoying them at a party or celebration.
Sugar Content
Sugar is a key ingredient in marshmallow pops, and they can pack quite the punch! Expect about 15 grams of sugar per pop. This sweetness is what makes them irresistible, but moderation is essential.
Fat
Most marshmallow pops are relatively low in fat, with approximately 3-5 grams per serving. The fat content will depend on the chocolate or toppings you choose, so opt for lighter options if you’re watching your intake.
Be mindful of portion sizes, and feel free to enjoy these treats while staying informed about their nutritional value!
FAQs about Marshmallow Pops
Diving into the delightful world of marshmallow pops is an adventure in creativity and flavor! Whether you’re hosting a party or simply indulging your sweet tooth, it’s essential to have answers to your burning questions.
Can I use different types of chocolate for coating?
Absolutely! While milk chocolate is a classic choice that appeals to many, you can mix it up with dark chocolate for a rich flavor or white chocolate for a sweeter note. Not only do different chocolates provide various taste profiles, but they also add visual appeal when drizzled or swirled together. Thinking about a themed party? Try colorful candy melts for a fun twist!
How do I store leftover marshmallow pops?
If you find yourself with extras, don’t worry—storing leftover marshmallow pops is easy! Simply place them in an airtight container at room temperature for up to a week. Just remember to separate layers with parchment paper to avoid sticking. If you want to keep them longer, you can refrigerate them, but let them come to room temperature before enjoying for the best flavor and texture.
What variations can I try with marshmallow pops?
The beauty of how to make marshmallow pops lies in their versatility! Get creative by adding toppings like crushed nuts, sprinkles, or graham cracker crumbs. For flavor variations, consider dipping your marshmallows in caramel or drizzling them with flavored syrups. You can even experiment by adding extracts like peppermint or almond for a unique twist. The possibilities are as endless as your imagination!
Conclusion on Marshmallow Pops
In wrapping up our delightful journey on how to make marshmallow pops, it’s clear that these treats are not just sweet snacks; they’re little bursts of joy. With just a handful of ingredients, you can create a fun and customizable dessert that’s perfect for any occasion. Whether you choose to dip them in chocolate or decorate them with sprinkles, the magic lies in your imagination.
Making marshmallow pops invites a sense of creativity and togetherness. Gather your friends or family for a pop-making party, and you’ll find that the experience is just as satisfying as the delicious treats themselves. So, grab your ingredients and get popping!
Print
Chocolate Filled Marshmallow Pops
- Total Time: 60 mins
- Yield: 12 pops 1x
- Diet: Vegetarian
Description
Delicious marshmallow pops filled with melted chocolate and decorated with sprinkles.
Ingredients
Scale
- 12 oz stacker marshmallows
- 12 chocolate or candy melts
- 1 tbsp vegetable shortening
- to taste sprinkles
Instructions
- Line a large cookie sheet or table with parchment paper, a silicone baking mat, or wax paper.
- Press your cookie cutter into the marshmallow, pushing all the way through. Remove the center piece of the marshmallow, leaving a cookie-cutter-shaped hole in the middle.
- Gently insert a 6-inch skewer or 4-inch popsicle stick into the marshmallow.
- If you haven’t done so, melt the chocolate according to the package instructions (typically in a microwave at 50% power stirring every 30-60 seconds).
- If the melted chocolate is too thick, add in vegetable shortening 1 tsp at a time until the chocolate is thin enough that it melts back into itself.
- Fill a pastry bag with the melted chocolate and cut a tiny piece of the tip off. Immediately fill the cut-out hole in the marshmallow with the melted chocolate.
- Press a toothpick, scribe, or another skewer to the bottom of the hole filled with chocolate and gently move around. This ensures the shape is entirely filled with chocolate.
- While the chocolate is still wet, add sprinkles, candy, and any other edible decorations.
- Let dry for 30-60 minutes at room temperature or until the chocolate is hard.
- Remove from parchment paper and enjoy!
Notes
- For best results, use fresh marshmallows for better sticking and filling.
- Prep Time: 15 mins
- Cook Time: 0 mins
- Category: Dessert
- Method: No bake
- Cuisine: American
Nutrition
- Serving Size: 1 pop