Follow Me On Social Media!

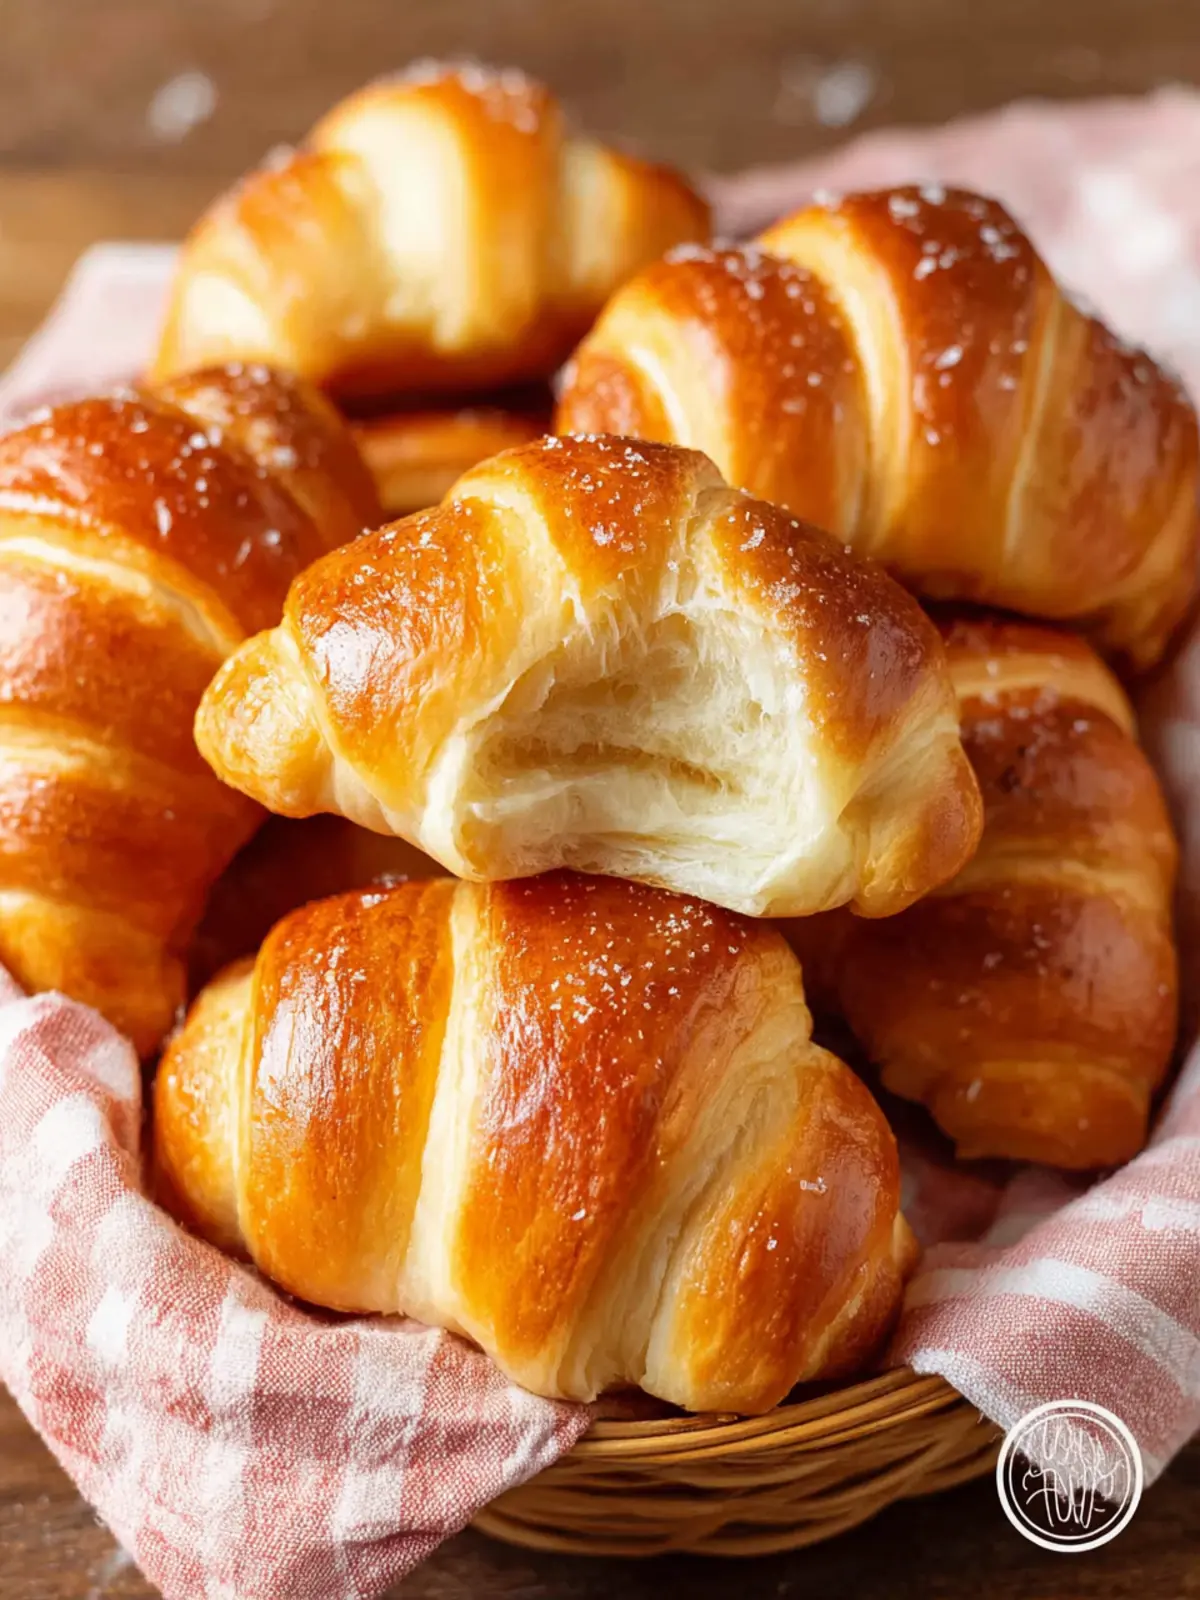
Homemade Crescent Rolls: Fluffy, Buttery Perfection Awaits!
Introduction to Homemade Crescent Rolls
Homemade crescent rolls bring a delightful warmth to any kitchen, evoking memories of family gatherings and holiday celebrations. Picture your home filled with the enticing aroma of fresh-baked bread, beckoning loved ones to gather around the dinner table. The act of making these flaky, buttery rolls can be both a therapeutic activity and a fulfilling culinary adventure, especially for young professionals who may be seeking comfort in their busy lives.
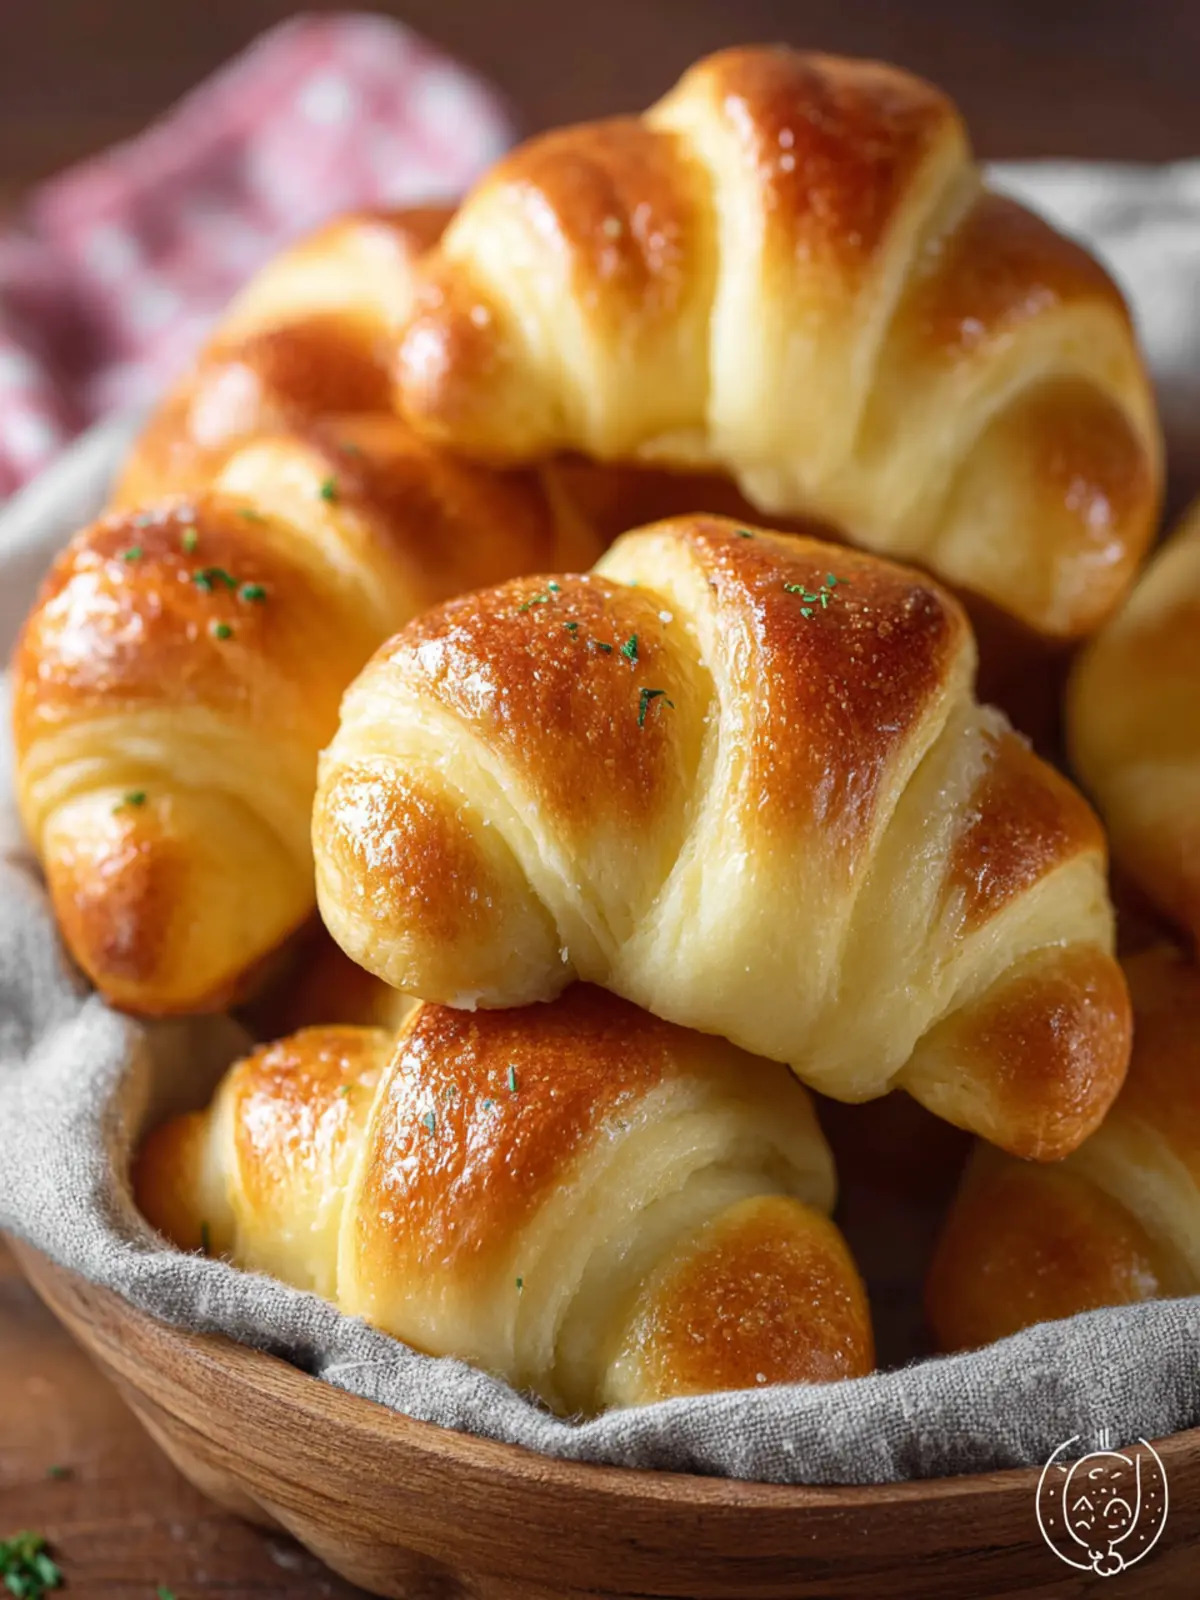
Imagine pulling a tray of golden crescent rolls out of the oven, each one perfectly baked and glistening with a hint of melted butter. Not only are these rolls visually appealing, but they also hold a unique charm when you take your first bite—crispy on the outside, soft on the inside. Homemade crescent rolls are a staple that can elevate any meal, from a casual brunch to a festive holiday dinner.
The Allure of Fresh-Baked Bread
There’s something undeniably magical about fresh-baked bread, and homemade crescent rolls are no exception. The rise and fall of the dough as it bakes creates not just a flavorful dish but also a sensory experience that includes the sound of crackling crust, the sight of a beautiful golden hue, and the comforting smell that envelops your kitchen.
As someone who loves experimenting with recipes, I’ve witnessed how homemade rolls can transform a simple meal into a special occasion. Whether you’re enjoying them warm with butter, serving them alongside a hearty soup, or stuffing them with your favorite fillings, these crescent rolls will surely become a beloved part of your culinary repertoire.
So, are you ready to bet on the allure that these incredible homemade crescent rolls can bring to your dining experience? The process might seem intimidating at first, but I assure you, with the right ingredients and a little patience, you’ll be rewarded with warm, flaky rolls that everyone will love. Let’s dive into the specifics of making these delightful treats!
Key Ingredients for Homemade Crescent Rolls
Creating homemade crescent rolls is like crafting warm hugs in pastry form; every component plays a crucial role in achieving that soft, flaky perfection we all crave. Here’s what you need:
-
Flour: All-purpose flour gives the dough its backbone. You want a high-quality brand for the best results, ensuring the rolls rise beautifully while still maintaining that tender texture.
-
Butter: Rich and creamy, butter adds flavor as well as makes those layers in the dough. Using unsalted butter allows you to better control the seasoning of your rolls.
-
Milk: Warm milk activates the yeast and encourages a lovely rise. It also enriches the dough, leading to an irresistibly tender roll.
-
Sugar: Just a touch of sugar not only sweetens the dough slightly but also helps activate the yeast for that fluffy density.
-
Yeast: Active dry yeast is essential for that light, airy rise. Always check the expiration date to ensure your rolls rise to perfection.
-
Salt: A necessary component, salt enhances flavor and controls yeast activity to prevent over-proofing.
By bringing these ingredients together, you’re setting the stage for homemade crescent rolls that will make every mealtime special!
Why You’ll Love This Recipe
Fluffy warm rolls for any occasion
There’s something truly magical about homemade crescent rolls that transforms an ordinary meal into an extraordinary experience. Picture this: the aroma of freshly baked rolls wafting through your kitchen, inviting everyone to gather around the table. Whether you’re hosting a cozy family dinner or a festive holiday gathering, these rolls are the perfect companion to any dish.
What makes homemade crescent rolls so special? It’s all about that delightful fluffy texture, achieved through a careful blend of ingredients. Each bite is soft and buttery, with a subtle sweetness that complements savory dishes brilliantly. These rolls are also incredibly versatile—perfect for slathering with butter, dipping in sauces, or serving alongside soups and salads.
Not to mention, making homemade crescent rolls is a bonding experience. Imagine the joy of baking them together with family or friends, rolling the dough and cutting it into those classic crescent shapes. It’s a recipe that invites creativity and connection, and the satisfaction of pulling a pan of golden, flaky rolls from the oven is simply unbeatable. Once you try it, you’ll wonder how you ever enjoyed a meal without them!
Variations on Homemade Crescent Rolls
There’s something undeniably special about homemade crescent rolls. They carry the warmth of nostalgia and the promise of comfort at the dinner table. By experimenting with different fillings, you can create a unique spin on this classic recipe that reflects your personal taste or the season’s bounty.
Sweet and Savory Twist Ideas
Imagine biting into a warm crescent roll filled with delightful surprises! Here are a few variations to get your creative juices flowing:
-
Cinnamon Sugar: For a sweet twist, sprinkle a mixture of cinnamon and sugar before rolling the dough. The result? A delightful, sticky treat that’s perfect for breakfast or dessert.
-
Cheesy Herb: Mix cream cheese with fresh herbs like chives and parsley for a savory spread. This rich filling pairs beautifully with the buttery layers of the roll.
-
Fruit and Cream Cheese: Spread cream cheese on the dough, add sliced strawberries or blueberries, and then roll it up. A touch of honey or lemon zest can elevate the flavors even further.
-
Ham and Cheese: A classic combination that never goes out of style! Place thin slices of ham and your favorite cheese inside the dough for a rich, savory option.
-
Spinach and Feta: For a Mediterranean flair, mix cooked spinach with crumbled feta cheese and a hint of garlic. This filling will transform your rolls into a delicious side dish.
With these creative variations on homemade crescent rolls, your baking game is sure to impress family and friends alike!
Cooking Tips and Notes for Homemade Crescent Rolls
Making homemade crescent rolls can be a delightful experience, but it can also come with its fair share of challenges. Fear not! Whether you’re a novice or a seasoned baker, these helpful tips can pave the way to perfection.
Troubleshooting Tips for Perfect Crescent Rolls
-
Dough Consistency: If your dough is too sticky, add a little more flour, but do so gradually. If it’s too dry, add a splash of warm milk or water to achieve that silky texture.
-
Rising Time: For optimum fluffiness, ensure your dough rises in a warm, draft-free area. Avoid rushing the proofing time, as this is crucial for fluffy rolls. Patience pays off!
-
Butter Temperature: For the best results, use room-temperature butter when spreading it on the dough. Cold butter can create a tough texture instead of the flaky layers we love.
-
Baking Time: Keep an eye on your rolls as they bake. Every oven is different; you might need to adjust the baking time slightly. Aim for a golden-brown hue on top!
-
Serving Warm: Nothing beats fresh homemade crescent rolls served warm. Brush them with a bit of melted butter right after they come out of the oven for extra flavor.
Experimenting and refining your technique is part of the joy in baking. Trust the process, enjoy the aromas wafting through your kitchen, and soon you’ll have a batch of irresistible homemade crescent rolls!
Serving Suggestions for Homemade Crescent Rolls
Ah, the incredible homemade crescent rolls! Their warm, flaky layers beckon you to assemble a meal that’s both comforting and delightful. Whether it’s a family gathering or a casual weeknight dinner, these rolls can elevate any dining experience with their buttery goodness.
Pairing ideas for the perfect meal
When it comes to enjoying your homemade crescent rolls, the possibilities are nearly endless. Here are a few delicious pairings that meld beautifully with their rich flavors:
- Savory Dishes: Serve them alongside a hearty beef stew or creamy chicken pot pie. The rolls are perfect for soaking up every last bit of the savory sauce.
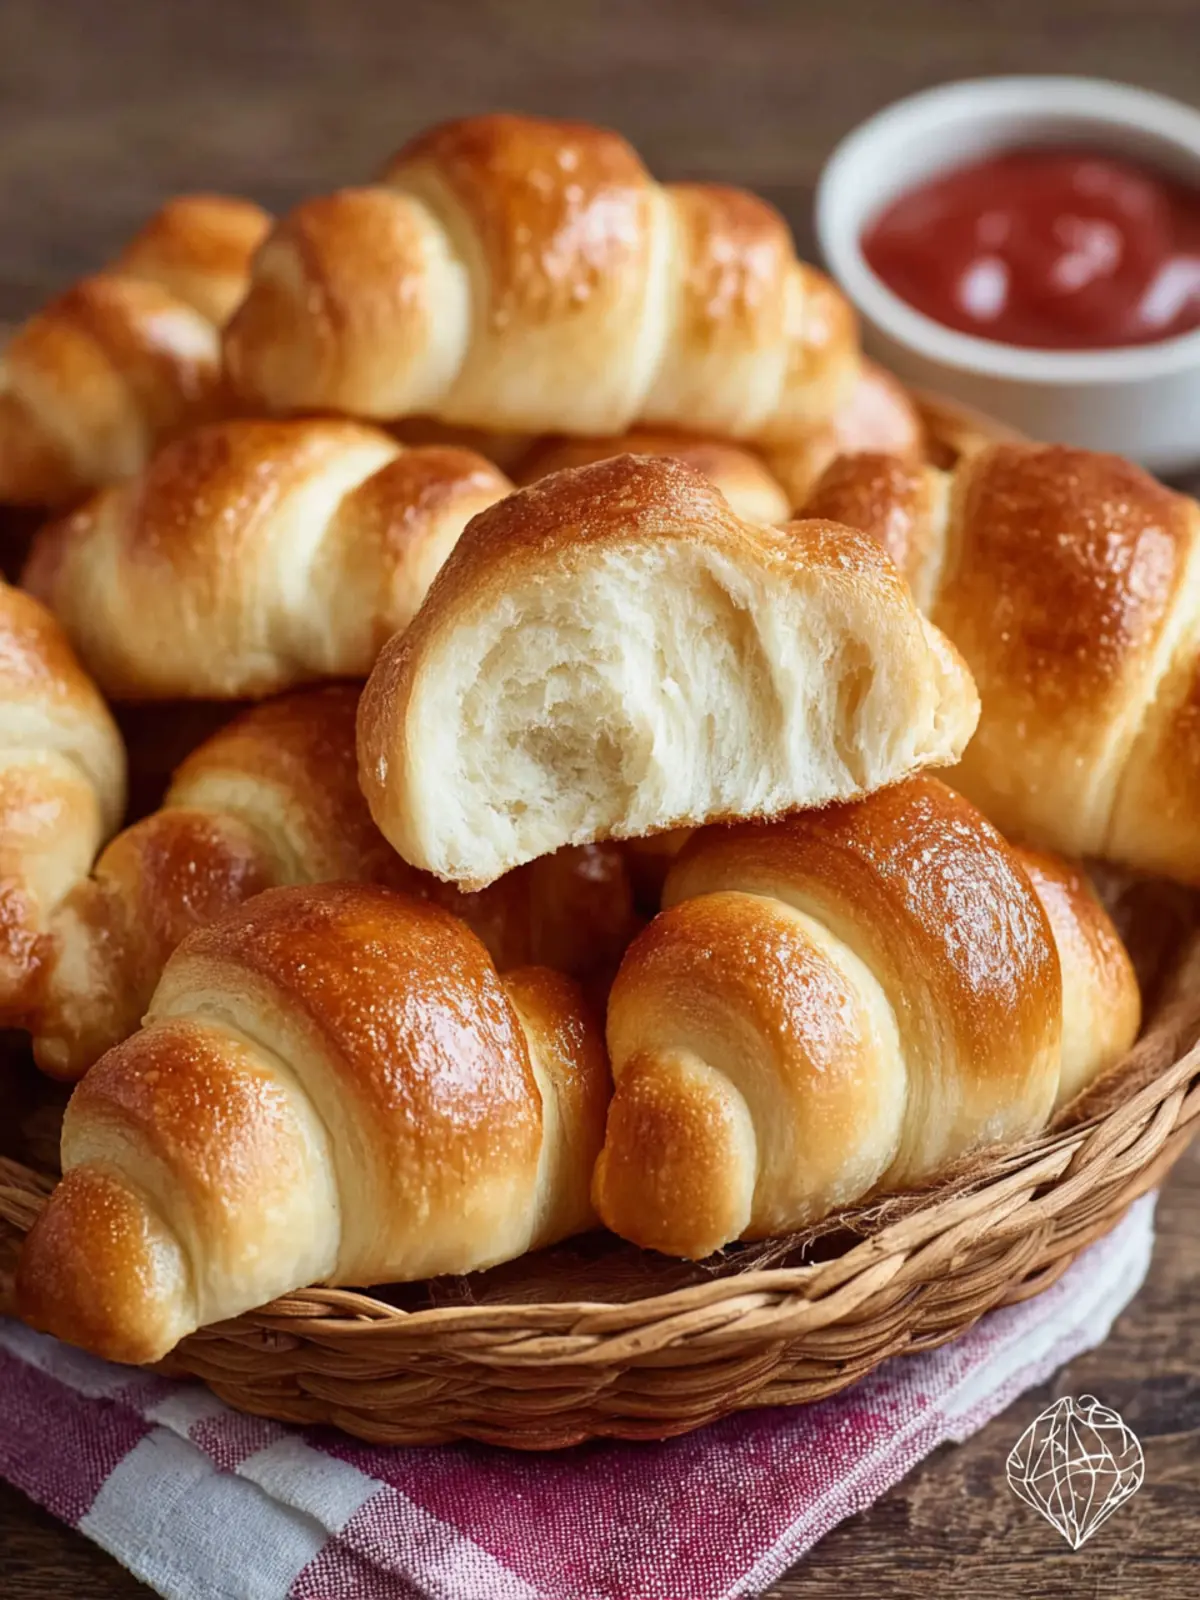
- Breakfast Treats: Imagine pairing these rolls with scrambled eggs and crispy bacon for brunch. You can even slice them open and fill them with a dollop of jam or fresh fruit.
- Salads: Toss a garden or Caesar salad on the table with your crescent rolls. The contrast of the fresh, crunchy veggies complements the soft, buttery rolls wonderfully.
- Cheese and Charcuterie Boards: For a relaxed evening, consider laying out slices of cheese, assorted meats, and your homemade crescent rolls as a perfect addition to nibbles.
Next time you whip up these delectable rolls, don’t forget to experiment with different dishes! The warmth and comfort of homemade crescent rolls will surely impress your family and friends, ensuring all plates are clean in no time.
Time Breakdown for Homemade Crescent Rolls
Creating homemade crescent rolls is a rewarding experience that fills your kitchen with delightful aromas and warmth. Here’s a quick breakdown of the time you’ll spend crafting these buttery delights.
Preparation Time
The preparation of your homemade crescent rolls will take approximately 20 minutes. This includes gathering your ingredients, mixing the dough, and rolling it out into the desired shapes.
Rising Time
Next, allow your dough to rise for about 1 to 2 hours. This step is crucial for achieving that fluffy texture, so be patient and let the dough do its magic.
Baking Time
Once your rolls have risen, baking them will take around 15 to 20 minutes. You’ll know they’re ready when they turn a lovely golden brown.
Total Time
In total, you’re looking at about 1.5 to 2.5 hours from start to finish, depending on your rising time. Trust me, the wait will be well worth it when you take that first warm bite!
Nutritional Facts for Homemade Crescent Rolls
When you whip up a batch of homemade crescent rolls, you’re not just treating your taste buds; you’re also curious about what you’re enjoying. These rolls can be a delightful addition to any meal, and understanding their nutritional profile makes the experience even more satisfying.
Calories
Each serving of homemade crescent rolls comes in at approximately 200 calories, allowing for a delicious indulgence without overdoing it.
Carbohydrates
With around 30 grams of carbohydrates per serving, these crescent rolls provide a good balance of energy, perfect for fueling your day while satisfying your cravings.
Protein
Each roll contains about 4 grams of protein, contributing to a well-rounded snack or side dish. While they’re not a primary source of protein, they certainly complement your meal nicely.
Homemade crescent rolls are a comforting and nourishing treat that can fit seamlessly into your lifestyle!
FAQ about Homemade Crescent Rolls
When it comes to homemade crescent rolls, the aroma wafting through your kitchen can make any meal feel special. Yet, navigating the world of baking can pose questions. Here are some of the most common queries answered to help you master these delightful treats.
Can I make crescent rolls ahead of time?
Absolutely! Preparing your homemade crescent rolls in advance can save you time on the day you plan to serve them. You can roll out the dough, shape them into crescent form, and place them on a baking sheet. Just cover them tightly with plastic wrap and refrigerate overnight. When you’re ready to bake, simply let them rise for about 30 minutes before popping them in the oven.
What can I do with leftover rolls?
Leftover homemade crescent rolls are a delightful problem to have! You can repurpose them in several ways:
- Bread Pudding: Tear them into pieces and turn them into a sweet or savory bread pudding.
- Sandwiches: Slice them open and fill them with your favorite deli meats or spreads for a delicious snack.
- Croutons: Cut them into cubes, toss them with olive oil and seasonings, then bake until crispy for homemade croutons.
Can I freeze homemade crescent rolls?
Yes, you can freeze your homemade crescent rolls. Once baked and cooled, place them in an airtight container or a freezer bag, and they can be stored for up to three months. When you’re ready to enjoy them, simply thaw at room temperature or reheat them in the oven for a few minutes. Enjoying that warm, flaky texture again will be worth the wait!
Conclusion on Homemade Crescent Rolls
The joy of baking at home
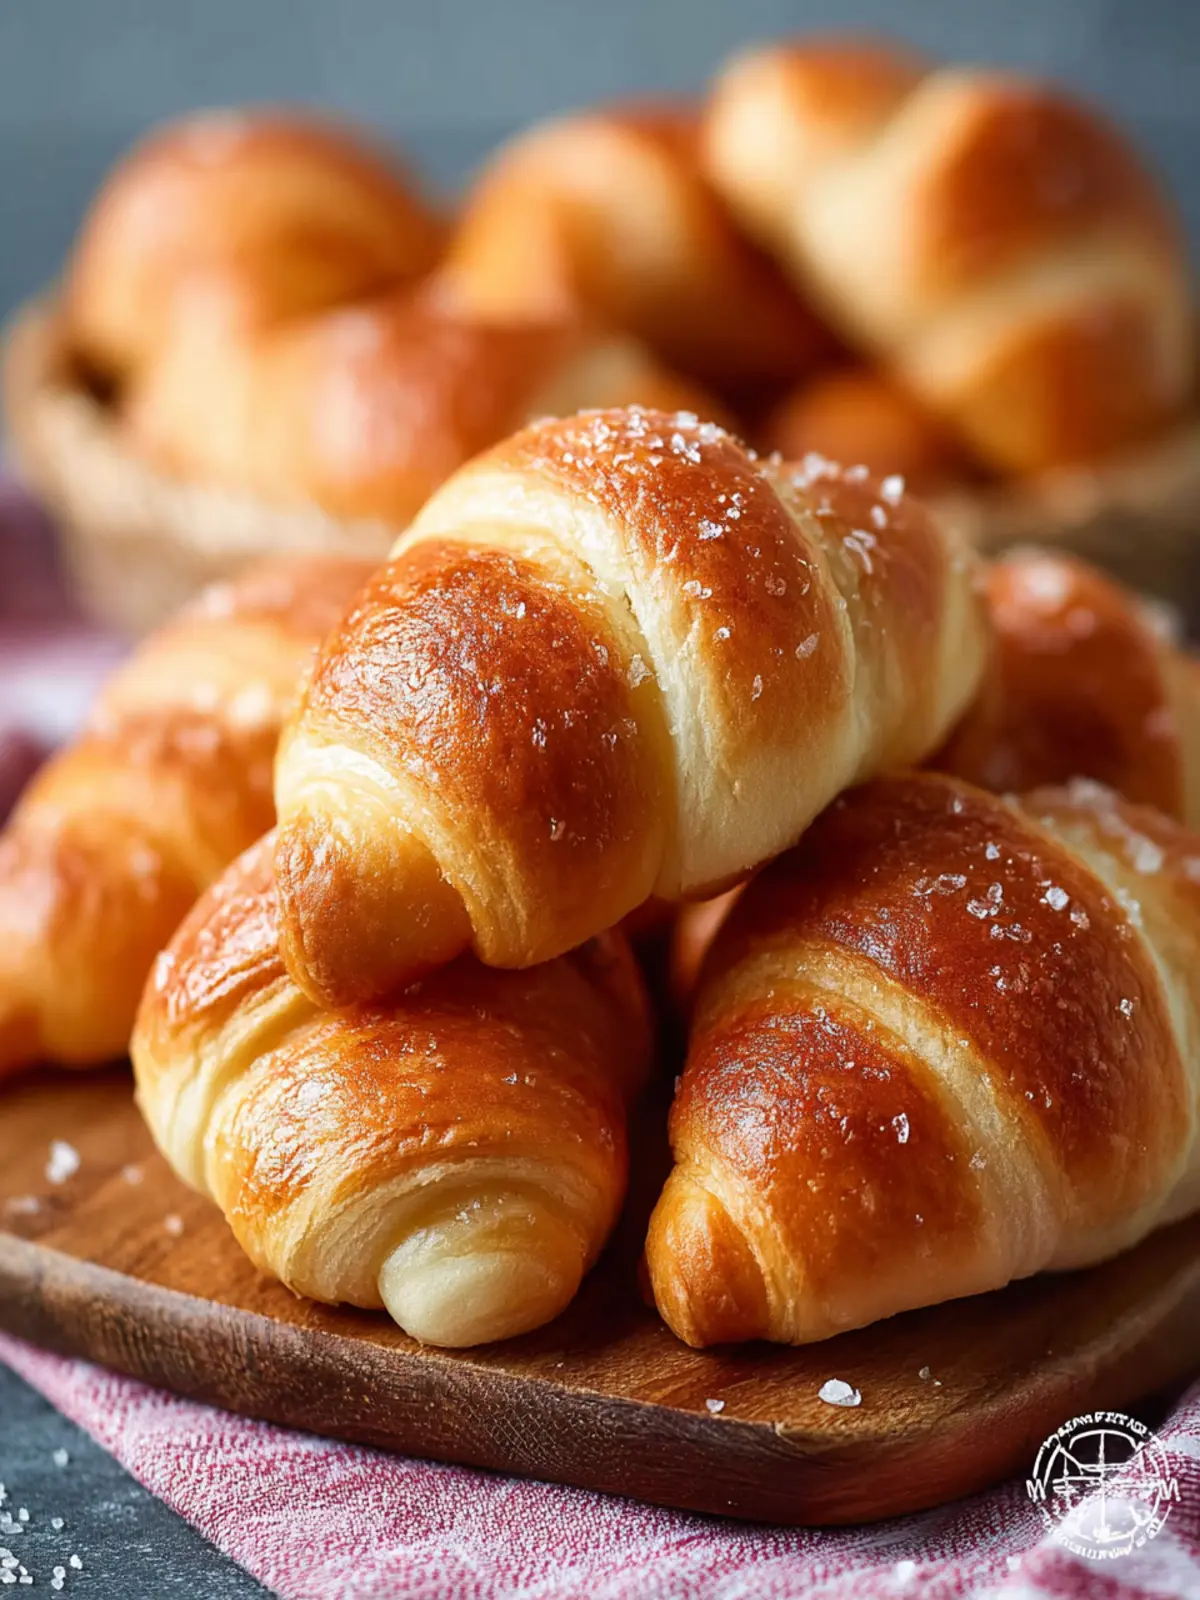
There’s something deeply satisfying about crafting your own homemade crescent rolls. Each bite offers a warm, buttery taste that store-bought versions simply can’t match. As you knead the dough and watch it rise, you engage in a beautiful process that connects you to kitchen traditions. These rolls can elevate any meal or stand alone as a delightful snack. Picture them fresh out of the oven, golden and flaky, inviting family and friends to gather around the table. So, roll up your sleeves and embark on this baking adventure; the rewards are deliciously worth it!
Print
Homemade Crescent Rolls
- Total Time: 1 hour 32 minutes
- Yield: 24 rolls 1x
- Diet: Vegetarian
Description
Delicious homemade crescent rolls that are soft and flaky.
Ingredients
Scale
- 1 teaspoon instant yeast
- 1 cup warm milk (110–115°F (43–46°C))
- 1 tablespoon granulated sugar
- 3 ½ cups all-purpose flour
- 1 ½ teaspoons table salt
- 1 large egg
- 4 tablespoons unsalted butter, softened
- 1 egg (beaten with 1 teaspoon water or milk for egg wash, optional)
Instructions
- In a large bowl, combine the yeast, warm milk, sugar, flour, salt, and egg. Mix and knead until a soft dough forms.
- Add the softened butter and continue kneading until smooth and elastic, about 6 to 8 minutes.
- Place the dough in a greased bowl.
- Cover with plastic wrap or a damp towel, and let rise in a warm spot until doubled in size, about 1 hour.
- Punch down the dough and divide into 2 equal portions. Roll each into a 12-inch (30 cm) circle.
- Cut each circle into 12 wedges using a pizza cutter or a sharp knife. Roll each wedge up from the wide end to the tip to form a crescent shape.
- Arrange rolls on a parchment-lined baking sheet, cover lightly, and let rise while preheating the oven.
- Preheat the oven to 375°F (190°C). Brush with egg wash if desired.
- Bake for 12 minutes, or until golden brown. Cool slightly before serving.
Notes
- Use a kitchen thermometer to ensure the milk is at the right temperature for the yeast.
- These rolls can be frozen after baking and reheated for later use.
- Prep Time: 20 minutes
- Cook Time: 12 minutes
- Category: Bread
- Method: Baking
- Cuisine: American
Nutrition
- Serving Size: 2 rolls
- Calories: 150
- Sugar: 1g
- Sodium: 200mg
- Fat: 7g
- Saturated Fat: 4g
- Unsaturated Fat: 2g
- Trans Fat: 0g
- Carbohydrates: 20g
- Fiber: 1g
- Protein: 4g
- Cholesterol: 30mg