Follow Me On Social Media!

Easy Garlic Cheese Bombs That Bring Joy to Your Kitchen
Introduction to Easy Garlic Cheese Bombs with Freezer Rolls
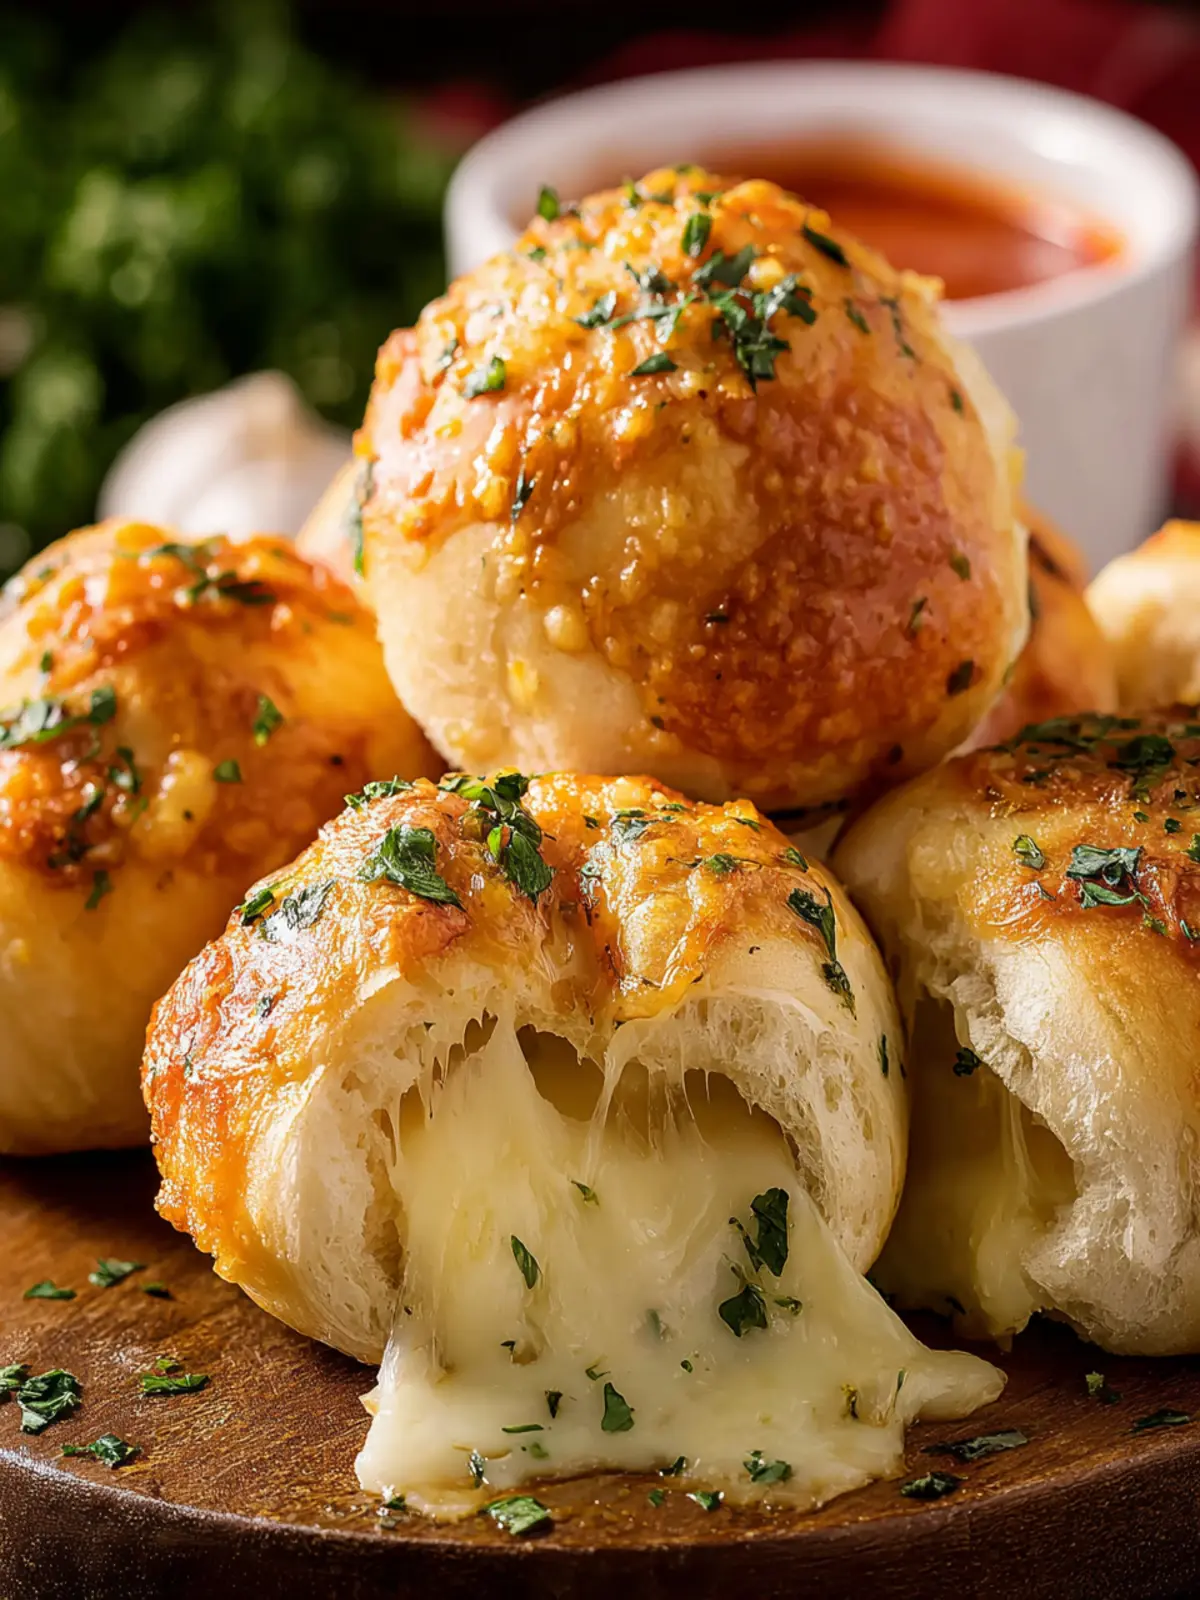
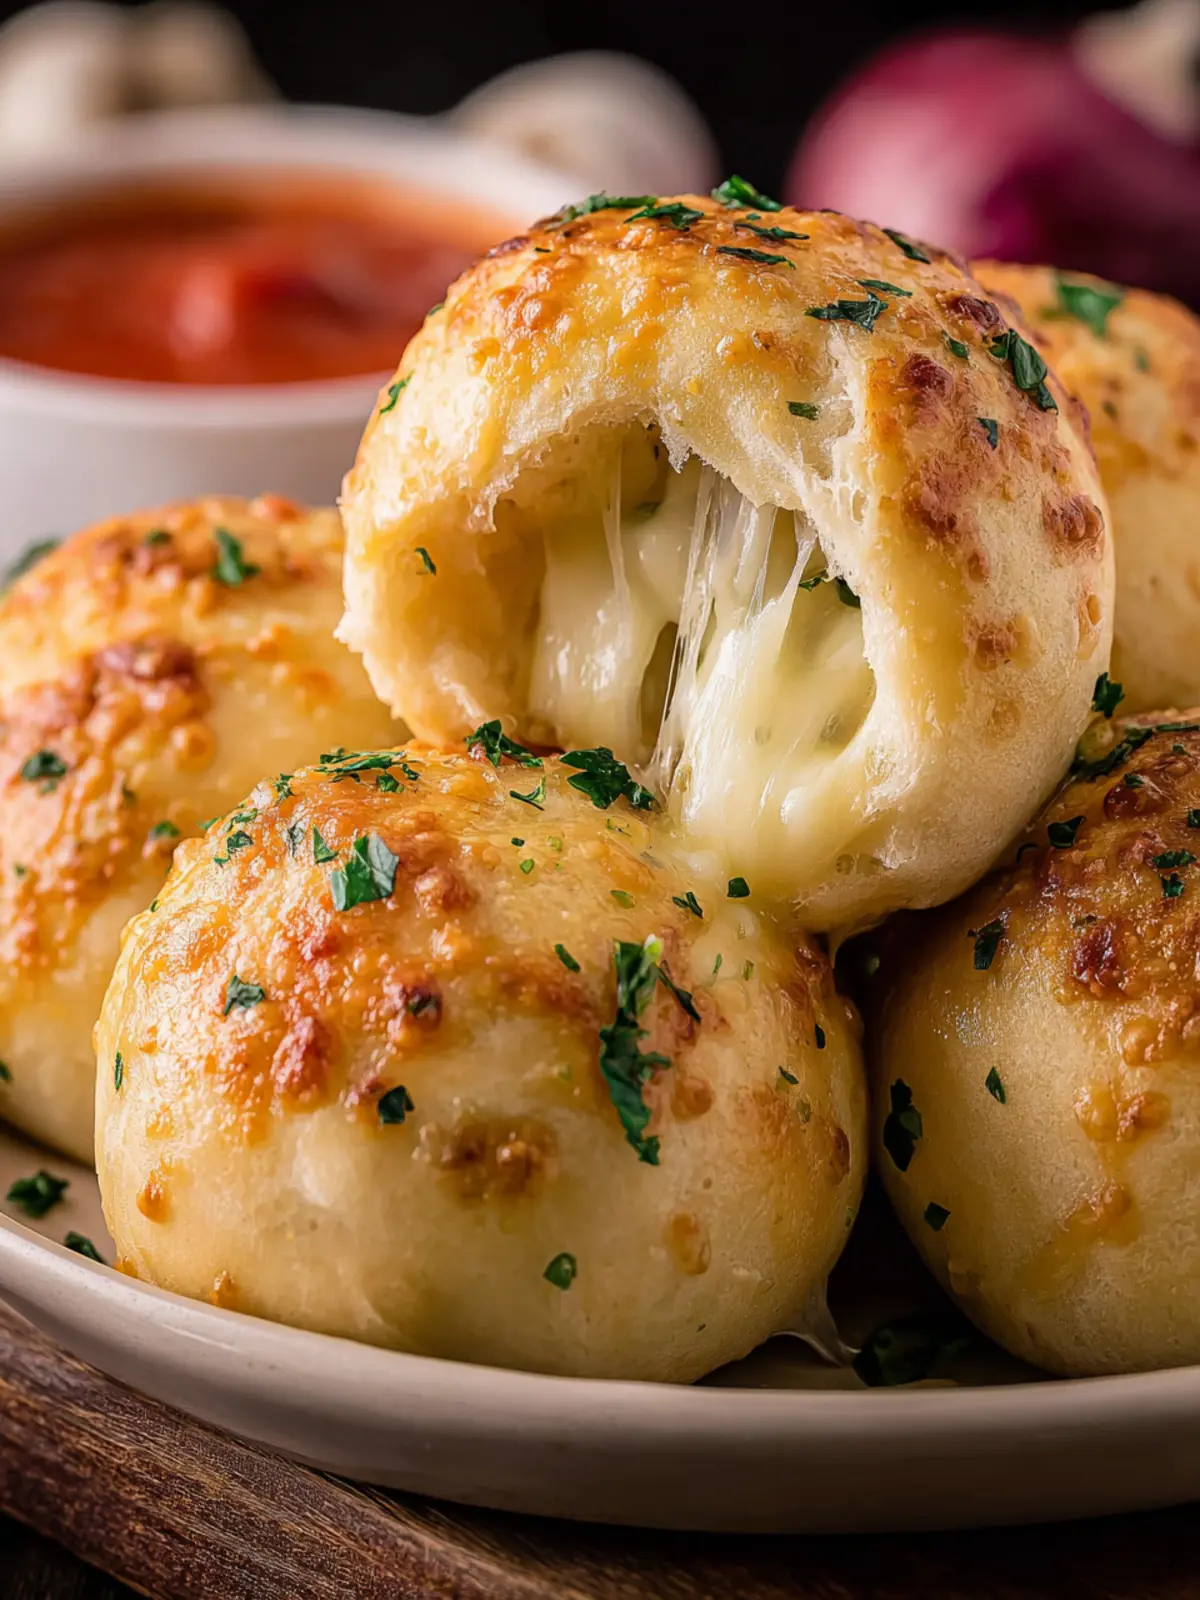
Imagine it’s a cozy evening, and you find yourself craving something warm, cheesy, and satisfyingly delicious. That’s where Easy Garlic Cheese Bombs with Freezer Rolls come into play. These delightful bites are a game-changer for any social gathering or a simple night in. This recipe perfectly combines the comfort of garlic bread and the gooey richness of melted cheese, all encapsulated in an easy-to-make package.
With today’s busy lifestyles, whipping up homemade snacks might seem daunting. However, easy garlic cheese bombs utilize freeze-and-bake freezer rolls, making the preparation a breeze. You’ll rediscover how satisfying it is to craft something delicious from scratch, where each bite oozes cheesy goodness.
Why Homemade Snacks are More Satisfying Than Fast Food?
Let’s face it; while fast food is convenient when you’re on the go, it rarely delivers on flavor or satisfaction. When you make snacks like these garlic cheese bombs in your kitchen, you’re filling your home with delicious aromas and creating a dish that’s made just for you.
Here are a few reasons why homemade snacks take the cake:
-
Quality Ingredients: You choose exactly what goes into your food—no mystery ingredients here. This allows you to honor your taste preferences and dietary needs while also ensuring fresh flavors.
-
Creative Control: Love garlic? Add more! Prefer a blend of cheeses? The choice is yours. The beauty of cooking at home is the freedom to tinker with recipes until they perfectly suit your palate.
-
Bonding Moments: Cooking can be a communal activity, whether you’re whipping up these easy garlic cheese bombs with friends or family. It transforms mealtime into a shared experience that fast food simply can’t replicate.
-
Cost-Effectiveness: When you prepare food at home, especially with ingredients you can buy in bulk, you save money in the long run.
So why not indulge in the act of creating your own garlic cheese bombs? The sense of achievement and the thrill of sharing them with others make the endeavor all the more rewarding.
Key Ingredients for Easy Garlic Cheese Bombs with Freezer Rolls
Creating easy garlic cheese bombs from freezer rolls is not just a recipe; it’s an experience that brings comfort to your kitchen. Every bite delivers a delightful explosion of flavor, perfect for shared moments with friends or family. Here’s everything you’ll need to get started on this effortless and scrumptious snack.
Freezer Rolls: The star of our garlic cheese bombs, freezer rolls are incredibly convenient. You can find a variety of options at the grocery store; look for those that are soft and fluffy to ensure the best texture once baked.
Mozzarella Cheese: Choose freshly grated mozzarella for its stretchy, melty texture. Pre-shredded varieties often contain anti-caking agents that can affect meltability, so opt for a block instead.
Garlic: Fresh garlic adds a robust flavor that brings life to these bombs. Minced garlic will release its oils and aroma beautifully during baking, enhancing the overall taste.
Butter: Melted butter is essential in this recipe. It contributes richness and coats the rolls, helping them achieve a golden-brown finish while soaking in all the garlic goodness.
Parsley: Chopped parsley not only adds a bright pop of color but also brings a subtle freshness, balancing out the richness of the cheese and butter.
With these key ingredients, you’re well on your way to whipping up crowd-pleasing easy garlic cheese bombs that are sure to become a household favorite!
Why You’ll Love These Easy Garlic Cheese Bombs
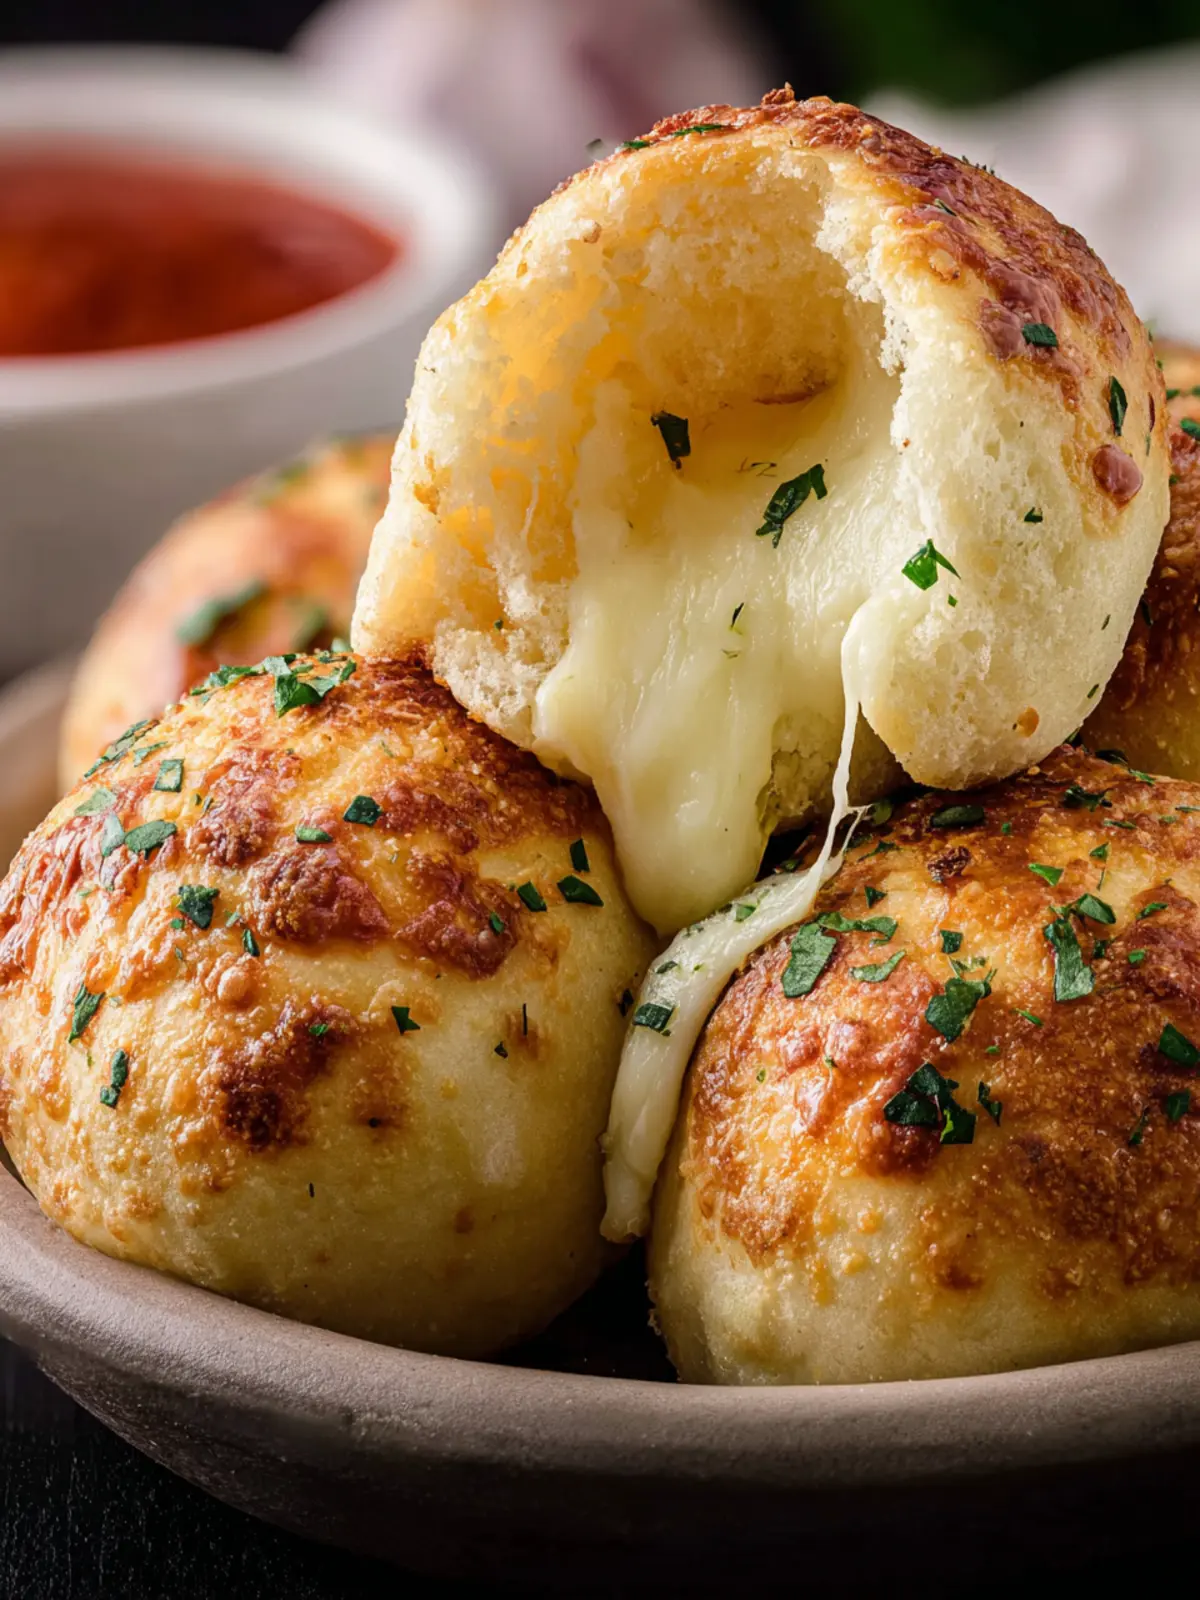
When you first bite into these easy garlic cheese bombs, you’ll understand why they are such a beloved snack. Packed with gooey cheese and a burst of garlicky goodness, they turn any meal or gathering into a flavor explosion.
The ultimate crowd-pleaser for gatherings
Imagine this: friends and family huddled around the table, laughter filling the air, and a warm platter of easy garlic cheese bombs in the center. These delightful treats are not just food; they’re an experience. Perfect for game nights, holiday gatherings, or even a simple weeknight dinner, they promise to impress every guest.
- Quick and Simple: Made with freezer rolls, this recipe requires minimal prep time. Just stuff, bake, and enjoy!
- Customizable: Add your favorite herbs or spices to make them uniquely yours. Feel free to experiment with different types of cheese for a delightful twist.
- Great for Sharing: Their bite-sized shape makes them perfect for sharing—or keeping all to yourself!
You’ll find that each bite is an irresistible mix of crispy outside and a melty cheese center, creating a comfort food that feels both indulgent and satisfying. Trust me, once you try them, you’ll be coming back for seconds—if not thirds!
Variations to Spice Things Up
Crafting easy garlic cheese bombs offers a canvas to explore flavor combinations that can elevate the experience beyond traditional recipes. The beauty of these delightful bites is not just their gooey cheese and garlic goodness, but also the endless adaptations you can make to match your taste preferences.
Additions and Substitutions for a Unique Twist
-
Herbs: Fresh herbs can dramatically enhance your bombs. Consider adding finely chopped parsley, basil, or even dill to the cheese mix for a fresh pop of flavor.
-
Spices: Turns up the heat with spices! A sprinkle of red pepper flakes or a dash of cayenne pepper can infuse a delightful spiciness. If you love smoky flavors, try adding a pinch of smoked paprika.
-
Cheese Choices: While mozzarella is a classic choice, experimenting with blended cheeses can result in unique outcomes. Gouda, cheddar, or pepper jack work beautifully for those craving a bold twist.
-
Fillings: Want to get adventurous? Add cooked crumbled bacon, sautéed mushrooms, or even jalapeños inside for a surprise burst of flavor.
-
Dipping Sauces: Think beyond the usual marinara. A creamy ranch, or a zesty garlic aioli can pair exquisitely with your easy garlic cheese bombs.
Each variation not only changes the taste but can create a whole new culinary experience worth sharing with friends. Make it your own!
Cooking Tips and Notes for Perfect Garlic Cheese Bombs
Creating easy garlic cheese bombs isn’t just about following a recipe; it’s about making little moments of joy in the kitchen! With a few tips, you can take your cooking experience to the next level and enjoy delightful bites that will make your taste buds sing.
Essential Tips to Enhance Your Cooking Experience
-
Use Fresh Ingredients: Fresh garlic makes a noticeable difference in flavor. If you can, opt for whole cloves instead of jarred garlic to elevate the taste of your cheese bombs.
-
Cheese Choice Matters: While mozzarella is a classic choice, consider mixing it with other cheeses like cheddar or pepper jack for a more complex flavor profile.
-
Don’t Rush the Rise: Allow the yeast rolls to rise properly before assembling your bombs. This step ensures that they become fluffy and golden in the oven, while also giving that lovely texture.
-
Brush with Garlic Butter: After baking, brush your cheese bombs with a mixture of melted butter, garlic, and herbs. This simple step adds an extra layer of flavor and an irresistible shiny finish.
-
Serve with Dipping Sauces: Enhance your garlic cheese bombs by serving them with marinara or ranch dressing. It’s an easy way to make your dish feel restaurant-quality!
By keeping these tips in mind, you’re setting yourself up for success in making the most delectable easy garlic cheese bombs. Happy cooking!
Serving Suggestions for Easy Garlic Cheese Bombs
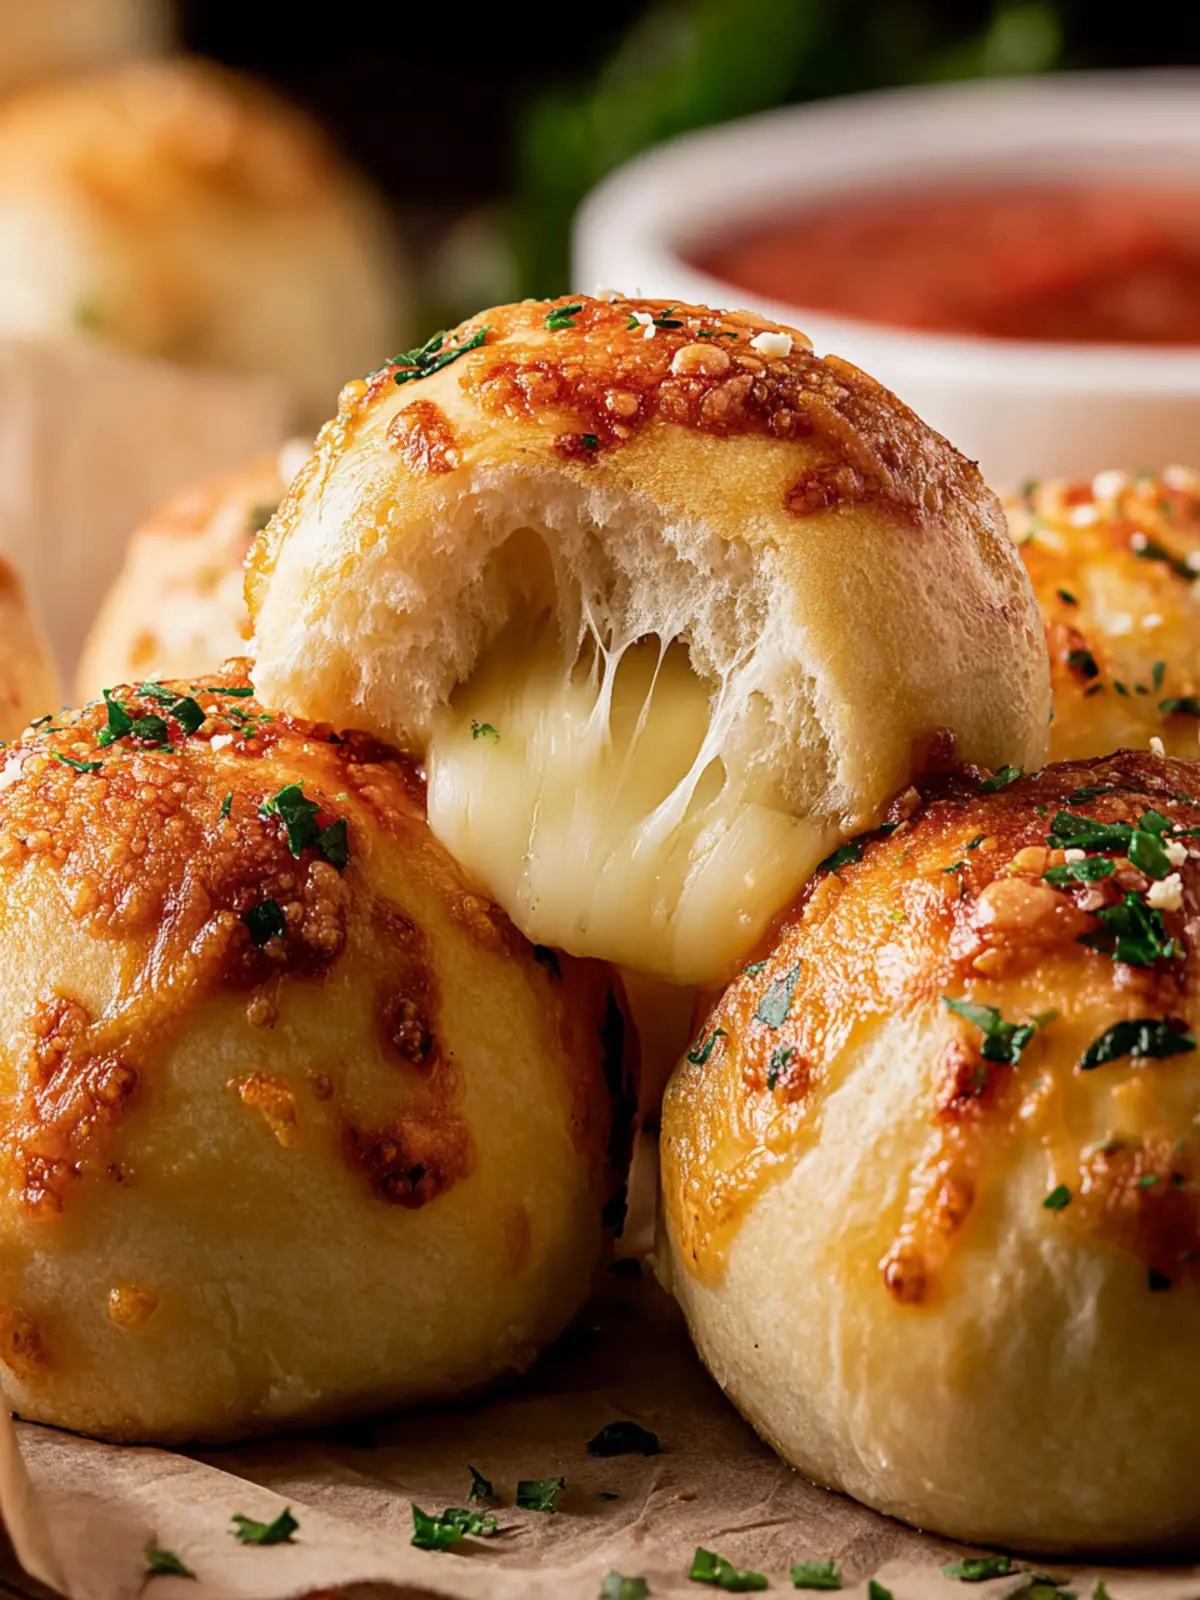
When you serve easy garlic cheese bombs, you’re not just delivering a snack; you’re inviting friends and family into a moment of pure culinary joy. Picture this: hot, gooey cheese encased in a fluffy, garlic-infused dough that pulls apart beautifully. It’s no wonder these little bites have become a hit in my kitchen, and I’ve found that pairing them thoughtfully elevates the experience even further.
Pair Ideas to Elevate Your Snack Time
-
Dips: A tangy marinara or creamy ranch can complement the cheesy goodness of these bombs perfectly. The contrast of flavors adds an exciting element to each bite.
-
Salads: Serve alongside a light garden salad with a zesty lemon vinaigrette. It balances out the rich flavors of the cheese bombs, making for a well-rounded meal.
-
Wine or Beer: Enjoying these bites with a glass of crisp white wine or a light lager can enhance the meal and make it feel special, perfect for a casual gathering.
These simple pairing ideas can transform your easy garlic cheese bombs from a tasty snack into an unforgettable appetizer or main dish.
Time Breakdown for Easy Garlic Cheese Bombs
When it comes to whipping up easy garlic cheese bombs, the delight of gooey cheese wrapped in warm, buttery goodness is just a few steps away. Here’s a simple timeline to set you up for success.
Preparation time
Getting started is a breeze! You’ll need about 10 minutes to gather your ingredients and prepare the garlic butter and cheese filling.
Baking time
Once your dough balls are ready, pop them in the oven for about 20 minutes. This is where the magic happens as they puff up and turn golden brown.
Total time
In just 30 minutes, you can transform frozen rolls into mouthwatering easy garlic cheese bombs, perfect for sharing or enjoying all by yourself.
Nutritional Facts for Easy Garlic Cheese Bombs
When you bite into an easy garlic cheese bomb, it’s easy to forget about the nutritional aspects, but let’s take a moment to break it down. These delightful snacks aren’t just delicious; they also provide a cozy comfort food experience without breaking the calorie bank.
Calories
One serving of these easy garlic cheese bombs packs about 210 calories. That means you can indulge without feeling guilty, especially when sharing with friends or family.
Protein
Each serving contains approximately 6 grams of protein. This makes them a great option if you’re looking for something to satisfy your cravings while still supporting your dietary needs.
Sodium
One thing to keep in mind is the sodium content, which hovers around 350 milligrams per serving. For those watching their salt intake, this is an important factor to consider, but it balances out well with the flavors, making each bite worth it.
Enjoy your edible indulgence guilt-free, knowing the nutritional facts behind your easy garlic cheese bombs!
FAQs about Easy Garlic Cheese Bombs
When you’re preparing to indulge in easy garlic cheese bombs, you might have a few questions lingering in your mind. Let’s address some common queries to help you make the most of this delightful recipe.
Can I use different types of cheese?
Absolutely! While easy garlic cheese bombs shine with mozzarella for its meltiness, feel free to get creative. Cheddar adds a sharp flavor, and cream cheese can make them extra rich and creamy. Just remember, the more flavorful the cheese, the more intense the flavor of your bomb!
How do I store leftovers?
If you happen to have any leftovers from your easy garlic cheese bombs, don’t worry! Simply let them cool to room temperature, then store them in an airtight container. They’re best eaten within 2-3 days. For longer storage, you can freeze them! Just place them in a single layer on a baking sheet until frozen, then transfer to a freezer-safe bag. When you’re ready to eat, reheat in the oven to restore that gooey cheese texture.
Are there gluten-free options available?
For those avoiding gluten, it’s simple to modify this recipe. You can use gluten-free freezer rolls or dough for your easy garlic cheese bombs. Many brands offer great alternatives that mimic the classic taste and texture without compromising on flavor. Just make sure to check the packaging for any gluten-free certifications!
Embrace the cheesy goodness, and enjoy every satisfying bite! If you have more questions or tips to share, feel free to comment below; I’d love to hear about your experiences with making these delicious bites.
Conclusion on Easy Garlic Cheese Bombs with Freezer Rolls
In a world where quick and delicious bites reign supreme, easy garlic cheese bombs stand out as a fantastic treat that’s both satisfying and simple to prepare. These delightful morsels are perfect for an impromptu gathering, a cozy movie night, or even as a scrumptious snack after a long day. The beauty of using freezer rolls means you can whip them up whenever you’re craving something cheesy and garlicky. Plus, with just a few ingredients and minimal prep, you’ll be able to impress your friends or indulge in a tasty bite of comfort food tonight! Enjoy every savory bite!
Print
Cheesy Texas Rolls
- Total Time: 4 hours 11 minutes
- Yield: 8 servings 1x
- Diet: Vegetarian
Description
Delicious cheesy rolls made with frozen Texas rolls and mozzarella.
Ingredients
Scale
- 8 frozen Texas Rolls (thawed, I like Rhodes brand)
- 4 sticks mozzarella cheese (cut into 16 pieces)
- 4 tablespoons salted butter (melted)
- 2 cloves garlic (minced)
- 1 Tablespoon parsley flakes (freshly chopped or dried)
Instructions
- If using frozen dough, start by thawing it. Place the frozen rolls on a plate, cover with plastic wrap, and move to the fridge for at least 4 hours or up to overnight. They should double in size.
- Once your rolls have defrosted, cut up mozzarella sticks into approximately 1″ pieces.
- Preheat the oven to 350° F and line a baking sheet with parchment paper. Set aside.
- Using the palms of your hands, flatten each dough ball into a round disk, then place two pieces of cheese into the center.
- Pinch together the edges (really well – you don’t want the cheese to melt out!) and place them seam side down onto your prepared baking sheet. Repeat until you’re out of rolls.
- Bake for 9-11 minutes, or until just starting to brown.
- While the rolls are baking, in a microwave safe dish (or in a saucepan over low heat), melt the butter.
- Once melted, remove from the microwave (be careful – it might be hot!) and stir in the minced garlic and the parsley flakes.
- Once browned, remove the rolls from the oven and evenly brush each with the garlic butter mixture.
- Let cool slightly then enjoy the cheesy goodness!
Notes
- Ensure the rolls are fully thawed before starting the preparation.
- Adjust baking time for desired crispness.
- Prep Time: 4 hours
- Cook Time: 11 minutes
- Category: Appetizer
- Method: Baking
- Cuisine: American
Nutrition
- Serving Size: 1 roll
- Calories: 150
- Sugar: 1g
- Sodium: 300mg
- Fat: 9g
- Saturated Fat: 5g
- Unsaturated Fat: 3g
- Trans Fat: 0g
- Carbohydrates: 15g
- Fiber: 1g
- Protein: 4g
- Cholesterol: 20mg