Follow Me On Social Media!

Bliss Balls Recipe: Irresistibly Delicious Vegan Treats!
Introduction to Bliss Balls Recipe Vegan Gluten Free: Irresistibly Delicious Treats
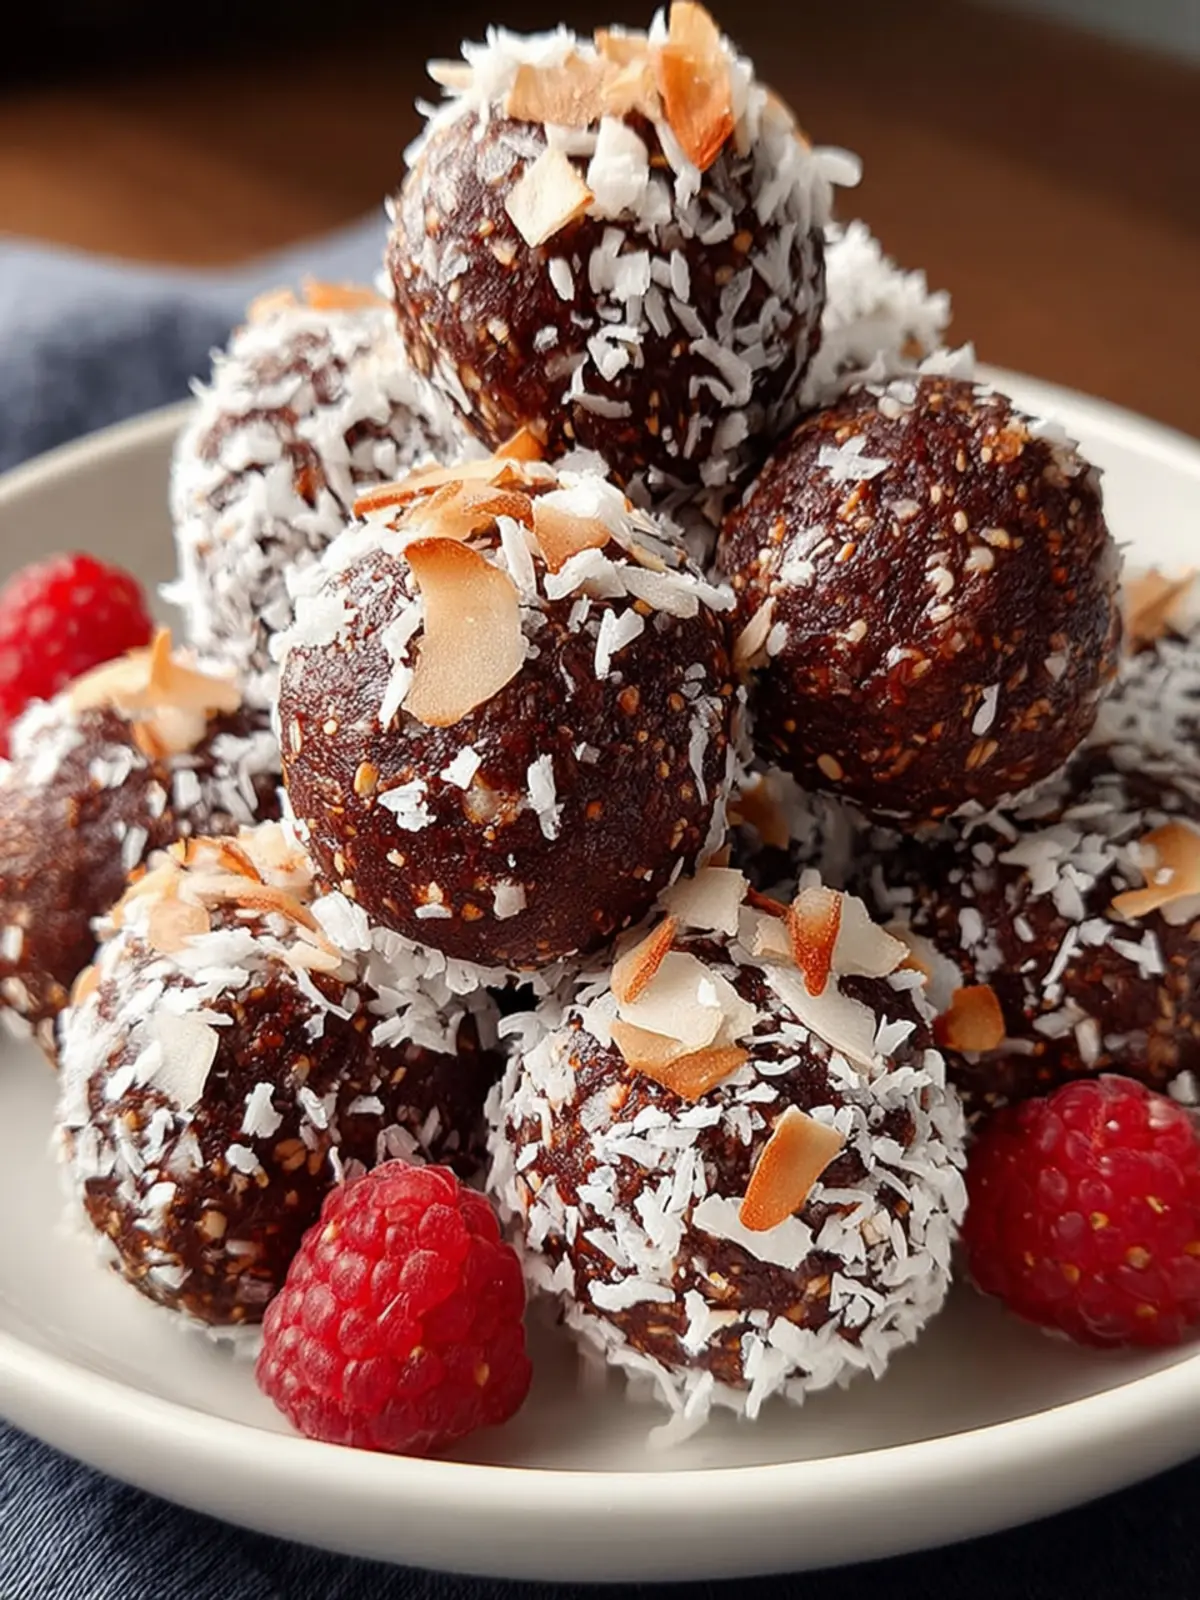
Nothing quite compares to the joy of biting into a bliss ball—a delightful blend of nourishment and indulgence that can transform any afternoon slump into a satisfying treat. Imagine a small, energy-packed bite that not only delights your taste buds but also fuels your body. These irresistible gems, made from wholesome ingredients, are perfect for anyone seeking a quick snack that’s both vegan and gluten-free.
Bliss balls can be your ultimate companion during busy workdays or leisurely weekends. Whether you’re preparing for a workout, need a sweet fix without the guilt, or simply want to share something delicious with loved ones, bliss balls offer versatility that few snacks can match. They’re easy to make, requiring minimal ingredients, and are customizable to suit your flavor preferences.
What makes bliss balls the perfect snack?
-
Energy Boost: Unlike typical sugary snacks, bliss balls provide sustained energy thanks to the combination of healthy fats, proteins, and fiber. Ingredients like nuts, seeds, and dried fruits are perfect for a midday pick-me-up.
-
Portability: These bite-sized delights are incredibly easy to take on the go. Simply pop a couple in your bag, and you’ll always have a wholesome snack within reach.
-
Nutritious Ingredients: Made from ingredients like oats, nut butter, and dates, bliss balls prioritize your health. They’re free from refined sugars and artificial additives, making them a guilt-free indulgence.
-
Customizable Flavors: Feeling adventurous? You can switch up the flavors by adding cocoa powder for a chocolatey twist, chia seeds for extra crunch, or vanilla extract for added sweetness!
-
Quick to Prepare: Whip up a batch in under 15 minutes, and you’ll have snacks ready for the entire week. It’s the perfect recipe for anyone leading a busy lifestyle.
In the following sections, you’ll discover a simple bliss balls recipe that ticks all the boxes for a vegan, gluten-free treat, ensuring that you can satisfy your snack cravings without compromise. So, let’s roll up our sleeves and dive into the world of blissful snacking!

Key Ingredients for Bliss Balls
Creating delicious bliss balls is more than just a simple mix of ingredients; it’s about crafting flavors that uplift and energize. Here’s a closer look at each key element in our bliss balls recipe to ensure each bite delivers satisfaction.
Dates
The heart of our bliss balls, dates serve as a natural sweetener that binds everything together. Their caramel-like flavor not only adds sweetness but also provides the perfect texture. When you blend them, they create a smooth base that holds all the components in harmony.
Almond Flour
This gluten-free alternative introduces a delightful nutty flavor, enhancing the overall taste without compromising on texture. Almond flour is also packed with nutrients, making your bliss balls not just tasty but nutritious too.
Cocoa Powder
For chocolate lovers, cocoa powder is essential—providing a rich chocolate taste while keeping it healthy. It’s a lovely ingredient that adds depth to our bliss balls recipe, encouraging guilt-free indulgence.
Maple Syrup
Just a hint of maple syrup reinforces the natural sweetness, elevating the overall flavor. It’s a fantastic addition that complements the other ingredients while offering a touch of warmth.
Coconut Oil
Adding creaminess and healthy fats, coconut oil brings a lovely richness to each bliss ball. It helps bind and gives a slight tropical essence, perfectly aligning with the other ingredients.
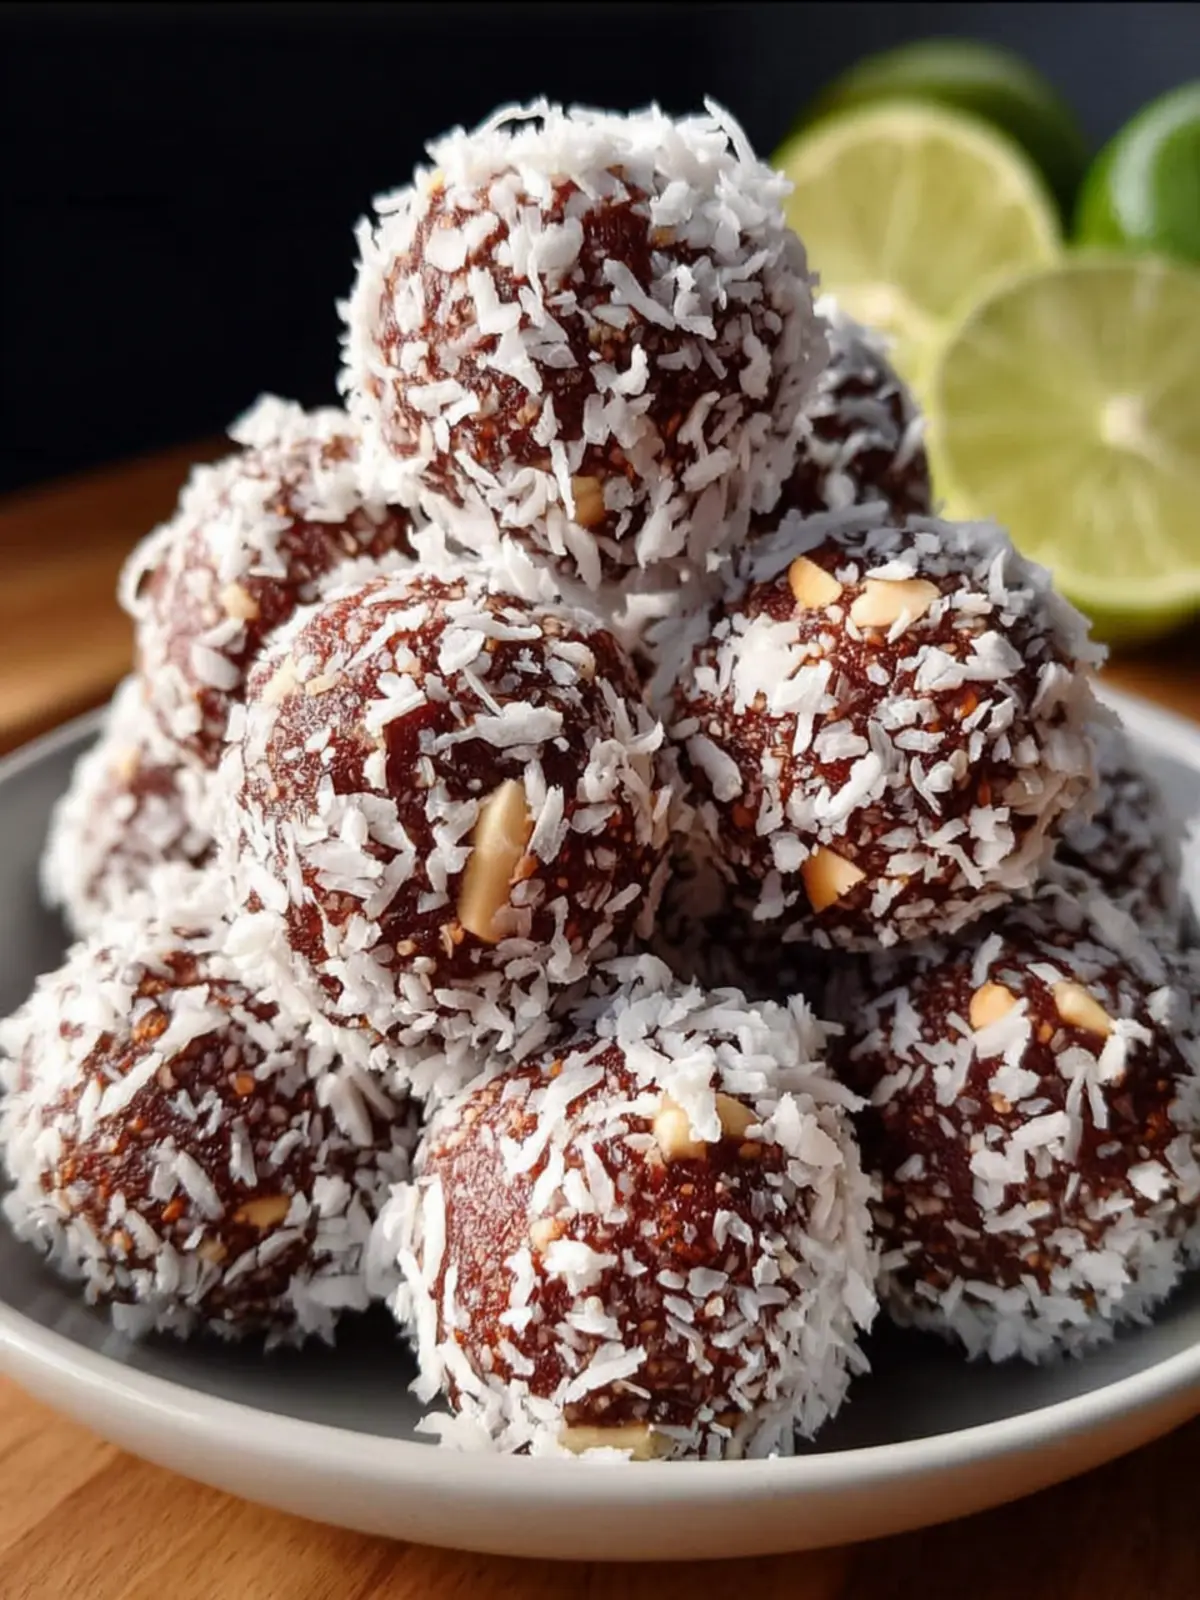
Shredded Coconut
This ingredient is more than just decorative; it adds texture and a refreshing tropical twist. It’s like a mini vacation for your taste buds in every bite.
Chopped Nuts
Finally, we can’t forget about chopped nuts. They introduce a crunchy layer, elevating the experience of each bliss ball. Their varied textures create a satisfying contrast that you won’t want to miss.
These ingredients work together to create bliss balls that not only satisfy your cravings but also nourish your body.
Why You’ll Love This Bliss Balls Recipe
It’s easy to fall in love with this bliss balls recipe once you realize that making healthy snacks can also mean indulging in something irresistibly delicious. Imagine popping a bite-sized treat into your mouth, only to be welcomed by the rich flavors and natural sweetness that make every step of your healthy living journey worthwhile.
Easy to Prepare
One of the best things about this bliss balls recipe is its simplicity. You only need a handful of ingredients, which can be easily mixed and rolled in less than 30 minutes. Whether you’re rushing between meetings or winding down after a long day, these balls fit seamlessly into your routine.
Packed with Nutrition
These delightful morsels are not just tasty—they’re also a powerhouse of nutrition. With ingredients like nuts, seeds, and dried fruits, each bliss ball is loaded with healthy fats, fiber, and protein. This means they can provide you with lasting energy, helping you stay focused and vibrant throughout your day.
Customizable to Your Tastes
One of the most exciting aspects of making bliss balls at home is the endless variety you can create. Want to switch up the flavors? Add a scoop of your favorite protein powder, a hint of cocoa, or some shredded coconut. The possibilities are truly endless, making this a staple recipe you’ll come back to time and again.
With these reasons in mind, it’s clear that not only will you enjoy making these treats, but you’ll also love savoring every bite knowing you’re treating your body right.
Variations on Bliss Balls
Creating a bliss balls recipe can be a delightful adventure, especially if you play around with different ingredients to suit your taste or dietary needs. Let’s explore some fun variations that can elevate your homemade treats.
Nut-Free Bliss Balls
For those who are nut-sensitive, there’s no need to miss out! You can easily swap out ingredients in your bliss balls recipe. Replace nuts with seeds such as sunflower or pumpkin for that satisfying crunch and nutrition. You might also consider using oats as a base; they offer a fantastic texture and serve as a great source of fiber.
Flavor Enhancement
If you’re keen to elevate your bliss balls, consider adding a dash of spices or extracts. Cinnamon, nutmeg, or even cardamom can bring a warming spice that transforms the flavor profile. Vanilla extract is a classic addition that goes wonderfully with chocolate or cocoa bliss balls. Feeling adventurous? Why not try a hint of peppermint extract for a refreshing twist, or some ginger for a zesty kick?
Superfood Additions
Incorporating superfoods can take your bliss balls to the next level, both nutritionally and flavor-wise. Chia and flax seeds are excellent choices; they enhance your treats with omega-3 fatty acids and fiber. Simply grind these seeds and mix them into your bliss balls recipe. Not only do they add health benefits, but they also contribute a fun texture. If you’re going for an energy boost, adding a tablespoon of spirulina or cacao powder can also enhance the nutrition without compromising taste.
These variations will not only keep your bliss balls interesting but will also cater to a range of dietary preferences. With so many options, your next batch is destined to be a hit!
Cooking Tips and Notes for Bliss Balls
Creating the perfect bliss balls is a delightful journey, and with a few handy tips, you can elevate your treats to irresistible heights!
Food Processor Tips: Ensuring the Perfect Blend
When it comes to your bliss balls recipe, a good food processor is your best friend.
- Right Texture: Start with the dry ingredients such as nuts and seeds before adding sticky elements like dates or nut butter. This prevents clumping and allows for a smoother texture.
- Pulse, Don’t Blend: Use the pulse function rather than a constant blend. This helps to break down ingredients evenly without turning them into a paste. You want that perfect bite!
- Check Consistency: Every nut and seed blend behaves differently. If your mixture seems dry, add a splash of water or nut milk gradually until you achieve the desired consistency.
Storage Tips: Keeping Your Bliss Balls Fresh and Flavorful
To enjoy your bliss balls at their best:
- Air-tight Containers: Store them in an air-tight container in the fridge to maintain freshness for up to two weeks. This keeps their flavors intact and extends their shelf life.
- Freeze for Longer: If you’re prepping ahead, feel free to freeze them! Just place them in a single layer on a baking sheet until firm, then transfer to a freezer-safe bag. They can stay fresh for up to three months.
- Thawing: Simply let them sit at room temperature for a few minutes before indulging. Freshly thawed bliss balls taste just as good as when they were first made!
With these simple tips, your bliss balls will not only be delicious but also perfectly stored for whenever you need a quick and satisfying treat!
Serving Suggestions for Bliss Balls
Are you ready to elevate your enjoyment of the bliss balls recipe? These delightful treats aren’t just great on their own; they fit seamlessly into various aspects of your life. Here’s how to incorporate them into your daily routine and special occasions.
As a Post-Workout Snack: Fueling Your Recovery
After a rigorous workout, your body craves replenishment. These bliss balls are the perfect solution. Packed with nutritious ingredients like nuts, seeds, and dates, they provide a great balance of carbs and protein. Grab a couple right after your session to kickstart your recovery and keep your energy levels up throughout the day. Easy to store in your gym bag, they are a delicious way to refuel without the fuss.
Party Treats: How to Present Them at Gatherings
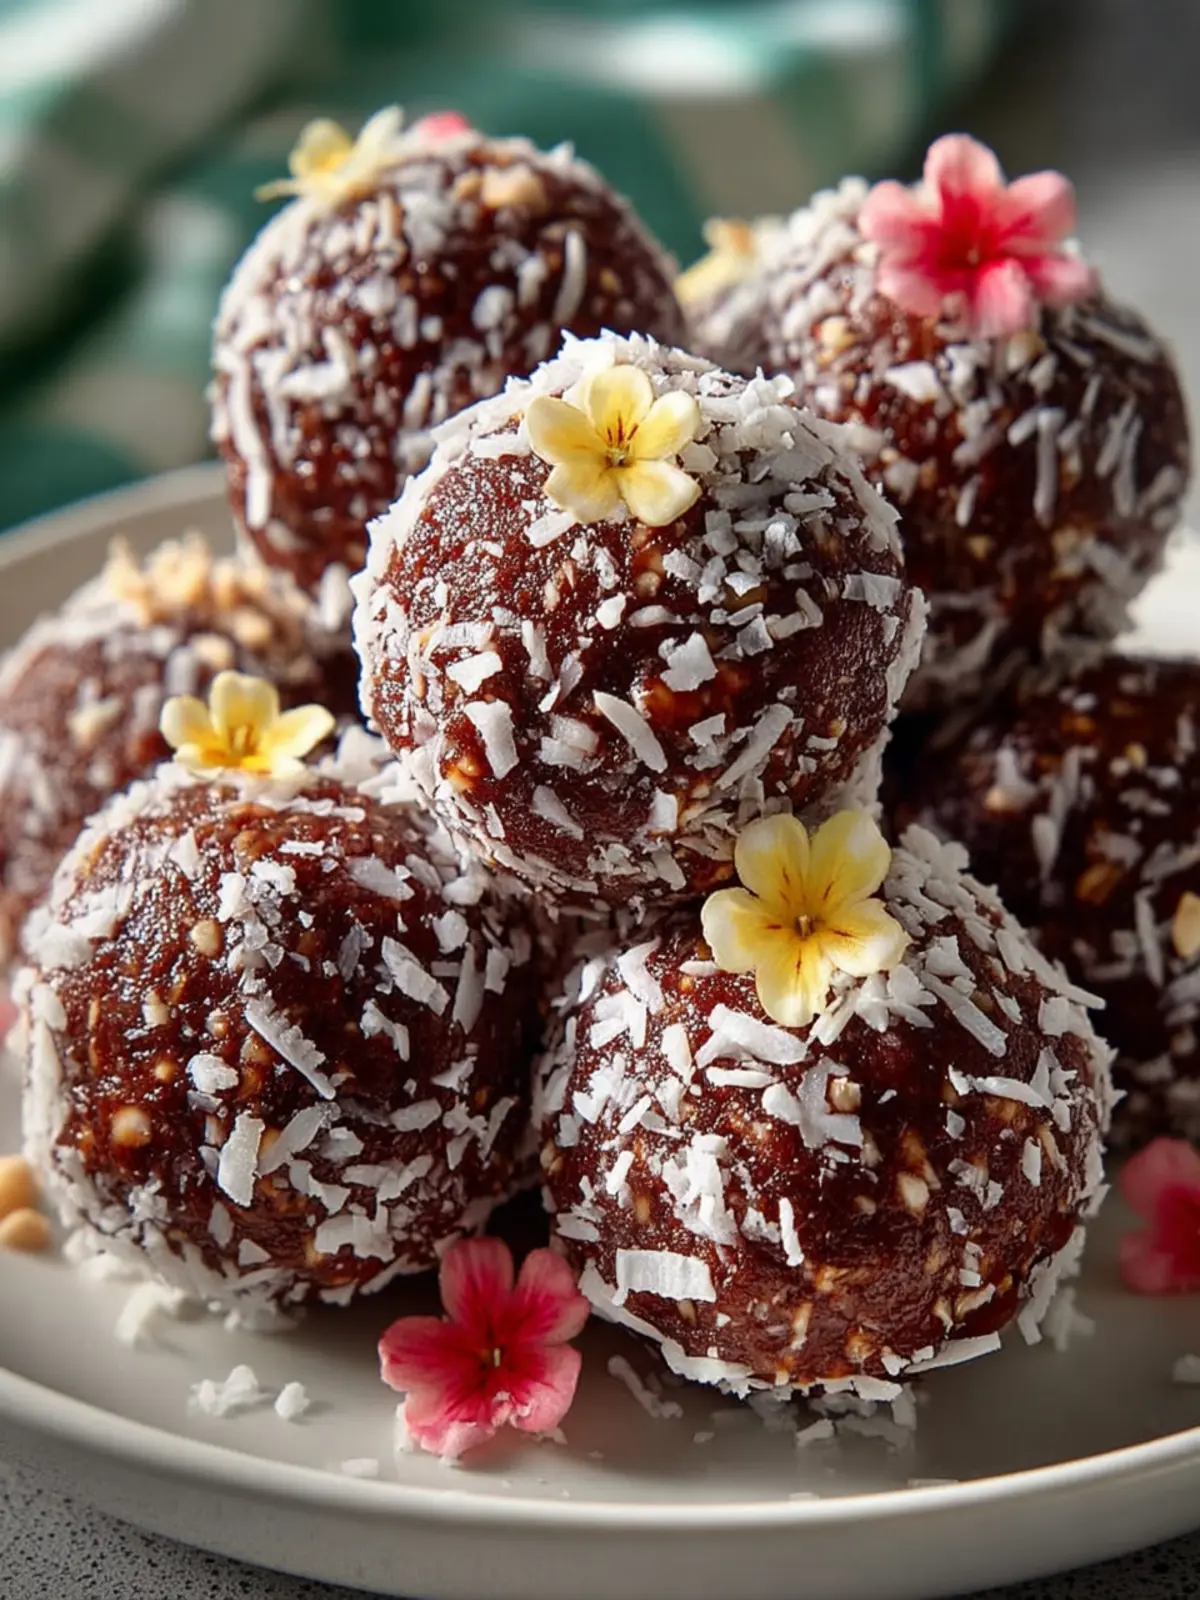
Hosting a gathering? Impress your guests by presenting your bliss balls recipe in style. Arrange them on a beautiful platter, perhaps dust them with coconut flakes or chopped nuts for a decorative touch. You can even coordinate their colors with other snacks on the table. Not only will they be a hit for their taste, but their visually appealing presentation will have everyone asking for the recipe.
Lunchbox Favorites: Perfect for Young Professionals on the Go
Busy workdays call for smart snack choices. These bliss balls fit perfectly into a lunchbox, making them the ultimate grab-and-go option for young professionals. They require no refrigeration, so you can pack them to enjoy during a busy afternoon or a quick meeting. No more reaching for unhealthy snacks—make these little bites your go-to for a nutritious energy boost when you need it most.
Time Breakdown for Bliss Balls
Creating delightful bliss balls can be a quick and satisfying experience, filled with an array of flavors. Here’s how the timing breaks down for this bliss balls recipe:
Preparation Time:
Whipping up these treats doesn’t take long at all! In just about 15 minutes, you’ll have them mixed and ready to roll. Whether you’re using a food processor or mixing by hand, it’s a simple, breezy process that fits perfectly into our busy lives.
Chilling Time:
Once prepared, placing the bliss balls in the fridge for at least 30 minutes is essential. This step not only enhances the flavor as the ingredients meld together, but it also helps them firm up, making for a delightful bite.
Total Time:
In just under an hour, you can go from ingredients to delicious bliss balls ready to be enjoyed. This quick and simple recipe is a great way to satisfy your sweet tooth with minimal effort!
Nutritional Facts for Bliss Balls
Understanding the benefits of the bliss balls recipe you love can help transform your snacking habits into something nutritious and enjoyable. Packed with wholesome ingredients, these little balls are as delightful for your body as they are for your taste buds.
Calories: Understanding the energy boost
Each bliss ball contains around 100 calories, making them an ideal snack to fuel your day without excessive indulgence. They provide a quick energy boost, perfect for powering through that afternoon slump.
Protein: Fuel for your busy lifestyle
With around 2-4 grams of protein per ball, the bliss balls recipe supports your dietary needs, making it easier to stay energized between meals. This protein source can also help curb cravings, keeping you satisfied longer.
Fats: The goodness of healthy fats
Primarily derived from nuts and seeds, these bliss balls offer healthy fats that support heart health. These fats are vital for maintaining energy levels and promoting satiety, allowing you to relish indulgence guilt-free.
Carbohydrates: Balancing energy and nutrition
The natural sugars from dates or other sweeteners provide a healthy source of carbs, giving you sustained energy without the crash associated with processed snacks. This balance helps ensure you feel good inside and out, making bliss balls the perfect treat for any occasion.
FAQs about Bliss Balls
The beauty of a bliss balls recipe lies not just in its taste but also in its versatility. As you embark on creating these delightful vegan gluten-free treats, you might have a few questions. Let’s explore some common ones!
How long do bliss balls last?
When stored in an airtight container in the fridge, bliss balls typically last about a week. I’ve found that they sometimes even taste better after a day or two as the flavors mingle. However, they can dry out, so make sure they’re sealed tightly.
Can I freeze bliss balls?
Absolutely! Freezing bliss balls is a fantastic option if you want to keep a batch handy for those sweet cravings. Lay them out on a baking sheet until they’re frozen, then transfer them to a freezer-safe container. They’ll stay fresh for up to three months. Just grab a couple from the freezer when you need a quick snack!
Can I use different nuts or seeds?
Definitely! One of the best aspects of bliss balls is how adaptable they are. Feel free to swap almonds for cashews or add pumpkin seeds instead of sunflower seeds. Just remember that different nuts and seeds can slightly alter the texture and flavor, so experiment to find your perfect blend.
What is the best way to enjoy bliss balls?
The best way? Whenever it strikes your fancy! Whether you need a quick breakfast on-the-go, an afternoon snack, or something guilty-free after dinner, bliss balls are the answer. Enjoy them as is or pair them with a cup of tea for a cozy treat. Just make sure to savor every bite!
Conclusion on Bliss Balls Recipe Vegan Gluten Free
Creating these bliss balls is a delightful adventure that can transform your snack game. Not only are they easy to prepare, but they also cater to various dietary needs while being irresistibly delicious. Imagine having a sweet treat that satisfies cravings without the guilt, thanks to the wholesome ingredients.
Whether you’re enjoying them as an on-the-go breakfast, a post-workout energy booster, or a midday pick-me-up, these vegan gluten-free bliss balls fit seamlessly into any lifestyle. So gather your ingredients, get your hands a little sticky, and indulge in these delightful bites with friends or family. Each bliss ball is a step closer to a healthier treat that doesn’t skimp on taste!
Print
Chocolate Energy Balls
- Total Time: 45 minutes
- Yield: 20 balls 1x
- Diet: Vegan
Description
These chocolate energy balls are a delicious and nutritious snack that are easy to make and perfect for on-the-go.
Ingredients
Scale
- 1 cup dates, pitted
- 1 cup almond flour
- 1/2 cup cocoa powder
- 1/4 cup maple syrup
- 1/4 cup coconut oil, melted
- 1/2 cup shredded coconut
- 1/2 cup chopped nuts
Instructions
- In a food processor, blend dates until smooth.
- Add almond flour, cocoa powder, maple syrup, and coconut oil. Blend until combined.
- Stir in shredded coconut and chopped nuts.
- Form the mixture into small balls.
- Place the balls on a baking sheet and refrigerate for at least 30 minutes.
Notes
- These energy balls are great for meal prep and can be stored in the refrigerator for a week.
- Feel free to substitute any nuts or seeds according to your preference.
- Prep Time: 15 minutes
- Category: Snacks
- Method: No-Cook
- Cuisine: American
Nutrition
- Serving Size: 2 balls
- Calories: 100
- Sugar: 8g
- Sodium: 1mg
- Fat: 6g
- Saturated Fat: 3g
- Unsaturated Fat: 3g
- Trans Fat: 0g
- Carbohydrates: 12g
- Fiber: 3g
- Protein: 2g
- Cholesterol: 0mg